Wednesday 26 September 2018

Weekly Blog Post for Bumbleberry's using the latest release from Lawn Fawn "Thanks A Latte"

                                                                                        
WELCOME ON OVER TO MY BLOG, 
for the look at one of the stamp sets in the latest release by Lawn Fawn.
Thanks A Latte https://www.bumbleberrys.co.uk/products/thanks-a-latte?variant=12878860091474
This Stamp set is totally up my alley, as its coffee themed. One of my true loves, is a latte after a hard day at work.
I couldn't  wait to play with this set, and there are so many ways to use it with all the little icons and cup fillers.


This is what I came up with.


Step One

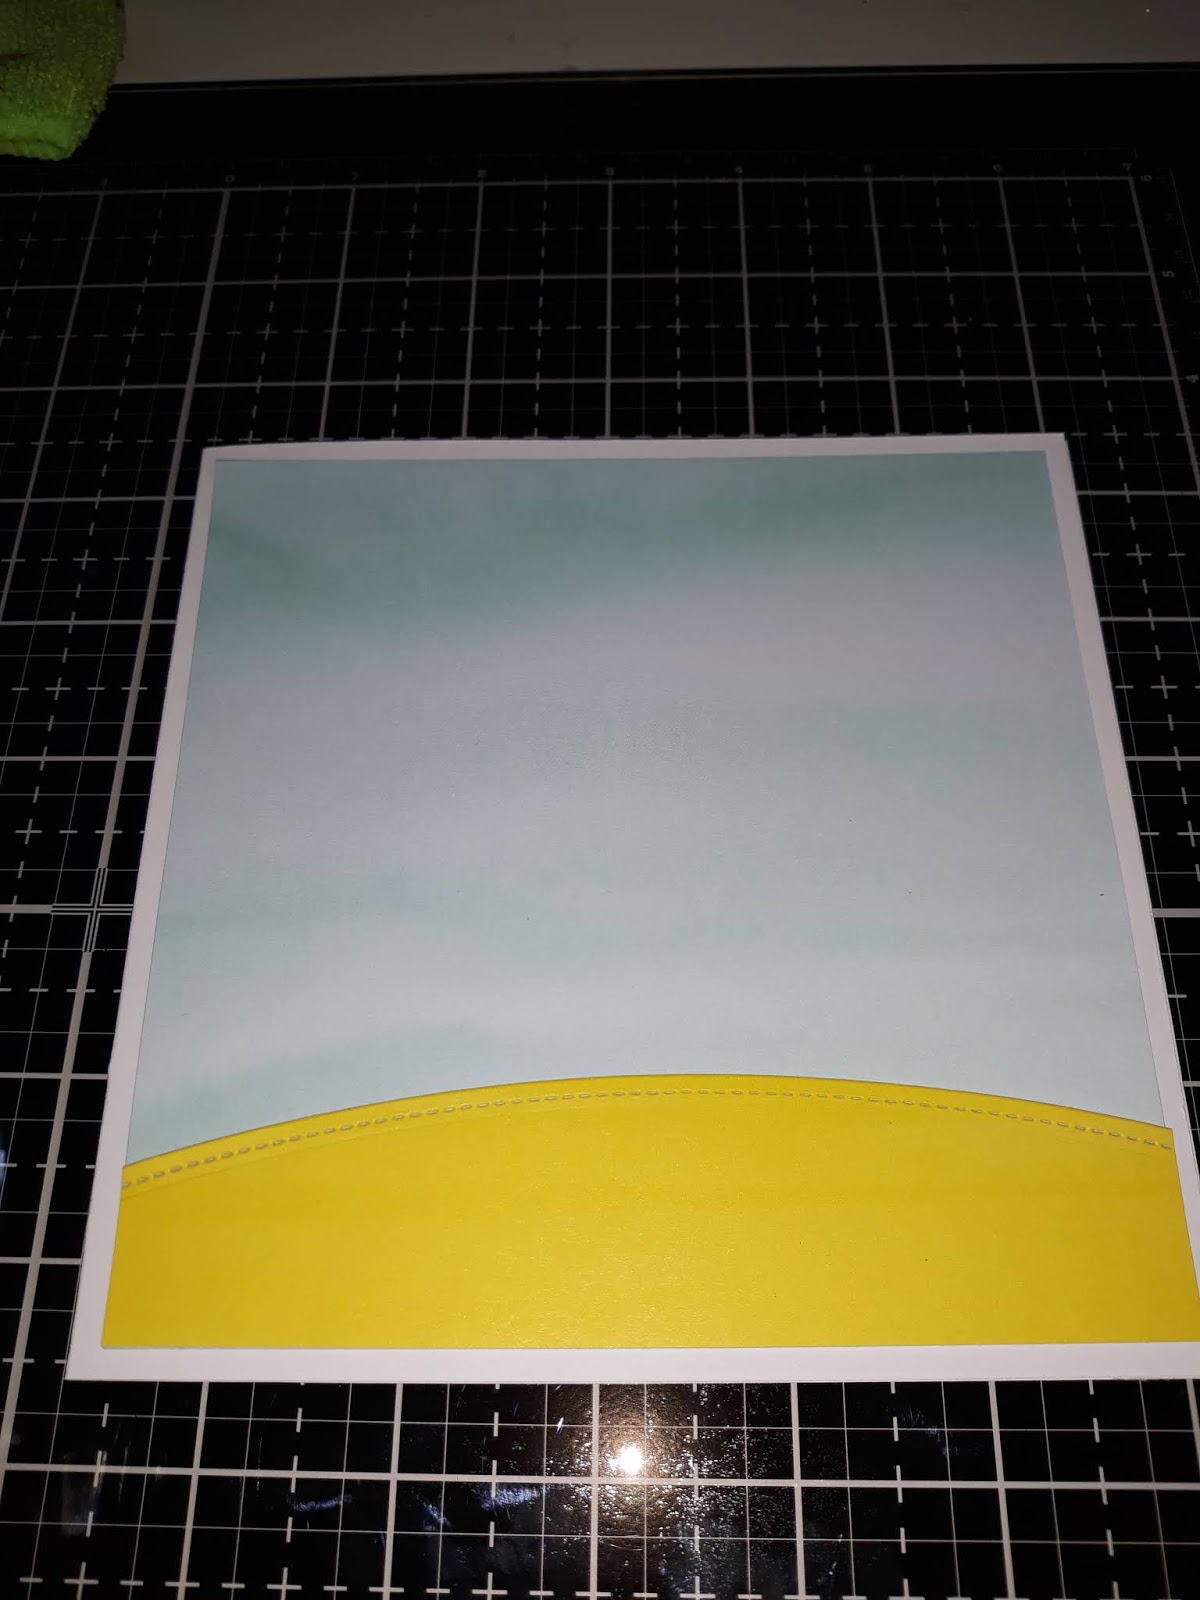
Taking a Piece of Neenah Cardstock 80lb,
I blended it with a warm orange dye pad. (Harmony)
Leaving the centre free.

Step Two


I stamped and coloured my image with Alcohol markers, and use Prisma pencils to add shading. I used the latte heart swirl stamp in Memento Toffee crunch.
and used a cream Prisma pencil to blend in the cream.

Step Three

I then die cut it out.

Step Four


Before adding the image I used a white acrylic paint to add splatter.
and drew in some faded white lines to give the impression of wind.

Step Five


I then in Vintage sepia Versa fine ink stamped leaves and warm wishes sentiment. I also added a heart to the cup and coloured it orange red, to match the back ground.

Step Six


I started adding Nuvo drops  in matte (Saddle Bag,Postbox Red, and Chocolate Chip)

Step Seven


I backed my design on to a piece of Really Rainbow paper by lawn fawn. Then I added it to a C6 card base.

Step Eight


With the scraps of  paper left, I stamped out two little sentiments from the set and matt them on to the card. (your the, cream to my coffee.)
This was my design all brought together. 

Thank you for popping over , and next weeks blog will be back on track with the Christmas card count down.

God Bless
Jo
xxx

Wednesday 19 September 2018

Weekly Blog for Bumbleberrys using MFT Fall Friends.....Zig Clean Color Brush Markers.

Well Hello and Welcome on over,
I was starting my christmas card count down. But after the MFT stamps finally arrived I realised we couldn't by-pass, Autumn. Or Fall as our American friends refer to it.
 So with everything on hold I cleared the desk and got in to the mood of all things Rusts, Browns and Burnt oranges......

Todays card features the amazing art work of Birdie Brown Fall Friends. https://www.bumbleberrys.co.uk/products/bb-fall-friends


 Step One 
Using your water brush markers make a simple background on watercolor card stock.


Step Two


Colour and die cut your images. Use a white gel pen to add high lights. I use press and seal to hold my images in place so I get a look at how it will look. This holds the images so you can turn them over and apply the glue.
Jennifer Mcguire has a video about the product. As her husband invented it.

Step Three


Add your sentiment in Versa Fine Vintage Sepia or any brown pigment ink. Emboss in clear.


Step Four add extra leaves and dimension , using a brown thin liner pen. I added a stitch border and dots on the ground etc.


Finally I had some fir cones in the house. So I added a few bits from the seeds. This added a natural organic, effect which is a different way to jazz up your work. 


Wednesday 12 September 2018

Weekly Blog For Bumbleberrys using Avery Elle Polar Peek-A Boo Pals and Circle Frame Elements....

Well Hi There Crafty Friends
Well with the School Holidays behind us, we start preparing for Autumn and Winter. I'm not a huge fan of the whole  Halloween thing. So I'm diving straight in to Christmas. 
I know its early, but all us card makers need to be sure of our designs, stamps etc weeks before the big day. In order to get all our cards made and ready to post. 
Today's Card features the adorable Avery Elle , Polar Peek -A-Boo Pals


This card is so simple,
Cut a piece of white card to fit on your card blank.
Die cut it with the Circle frame die.
 Before you attach it stamp and colour your critters.Attach them so they look through the windows.
Finish it if with sentiments stamped in black. Gelly Roll sakura pen in stitching around the white die cut piece. lastly add some little gems.
These are great for batch making.

One other thing I came across this shelf on the ikea website. its £15.00 and sits on your desk, I thought you crafty friends might like to see my pen set up.
Also I am in the process of starting my videos again so you can watch me making the card designs. but this wont be until October.


Thank you for popping over,
 and 
God Bless

Jo
xxx


Wednesday 5 September 2018

Weekly Blog Post for Bumbleberry using Just Be Claws and Beach Buds....... MFT stamps.

Well Hello Crafty Friends,
Its back to reality, this week so I could resist digging out those cute seaside images and combining to different sets form My Favourite Things Stamps.
Using Just Beclaws https://www.bumbleberrys.co.uk/products/just-beclaw and Beach Buds https://www.bumbleberrys.co.uk/products/beach-buds I came up with this "Cool card".


Step one

Using Lawn Fawns Watercolour Wishes paper pack for the sea, and Really Rainbow paper for the sand, I created the back ground. I used the Simple Stitch Border die.


Step Two
I stamp out the paracel from the Just Be- claws on to really rainbow pad (rainbow stripes)
Also stamp out the images on to watercolor card stock in versa fine ink.


Step Two


Coloured my images, using Zig Real Brush Markers, I later Change this Using the rainbow paper, as I prefer the look.

Step Three


Add the Seaweed and Starfish.
Added glossy accents to his sun glasses. 
Then embossed the sentiment on to black using white embossing powder.


Thank you for popping over, 
Take Care and God Bless
Jo
xxx


Followers