Wednesday 30 March 2022

Love You To The Moon and Back! Using Out Of This World Stamps and Dies

 Welcome Crafty Friends,

I wonder what draws you, to purchase your stamp and dies. A certain style, theme or just love the image. For me its all those things. With today's choice it was the words. As I have been telling my Grandson since he was a tiny baby, nearly seven years ago, that I love him to the moon and back. When I saw this in a stamp I knew I had to use it. I am going to frame this card for his bedroom. So he can have a constant, reminder of how much nanny loves him.


Products
Out Of This World Stamp Set (Concord & 9th)

Out Of This World Dies (Concord & 9th)

Inkpads In Poppy, Stardust, Aqua Sky, Oceanside, Peacock, Midnight, and Dove (Concord & 9th)

Unicorn Pigment Ink (Hero Arts)

Black Onyx inkpad (Versafine)

Starry Night Palette (Gansi Tambi)

Crystal Glaze (Nuvo)

Black Card Base 6" x 6" 

Method


Firstly take the stamp with the little texture on it and stamp in the white pigment ink. Use the first and second generation of ink. Do this on to the black card base.


Using your Starry paint palette for two or more different colours to add splats of  golds to your card base. leave this to dry.


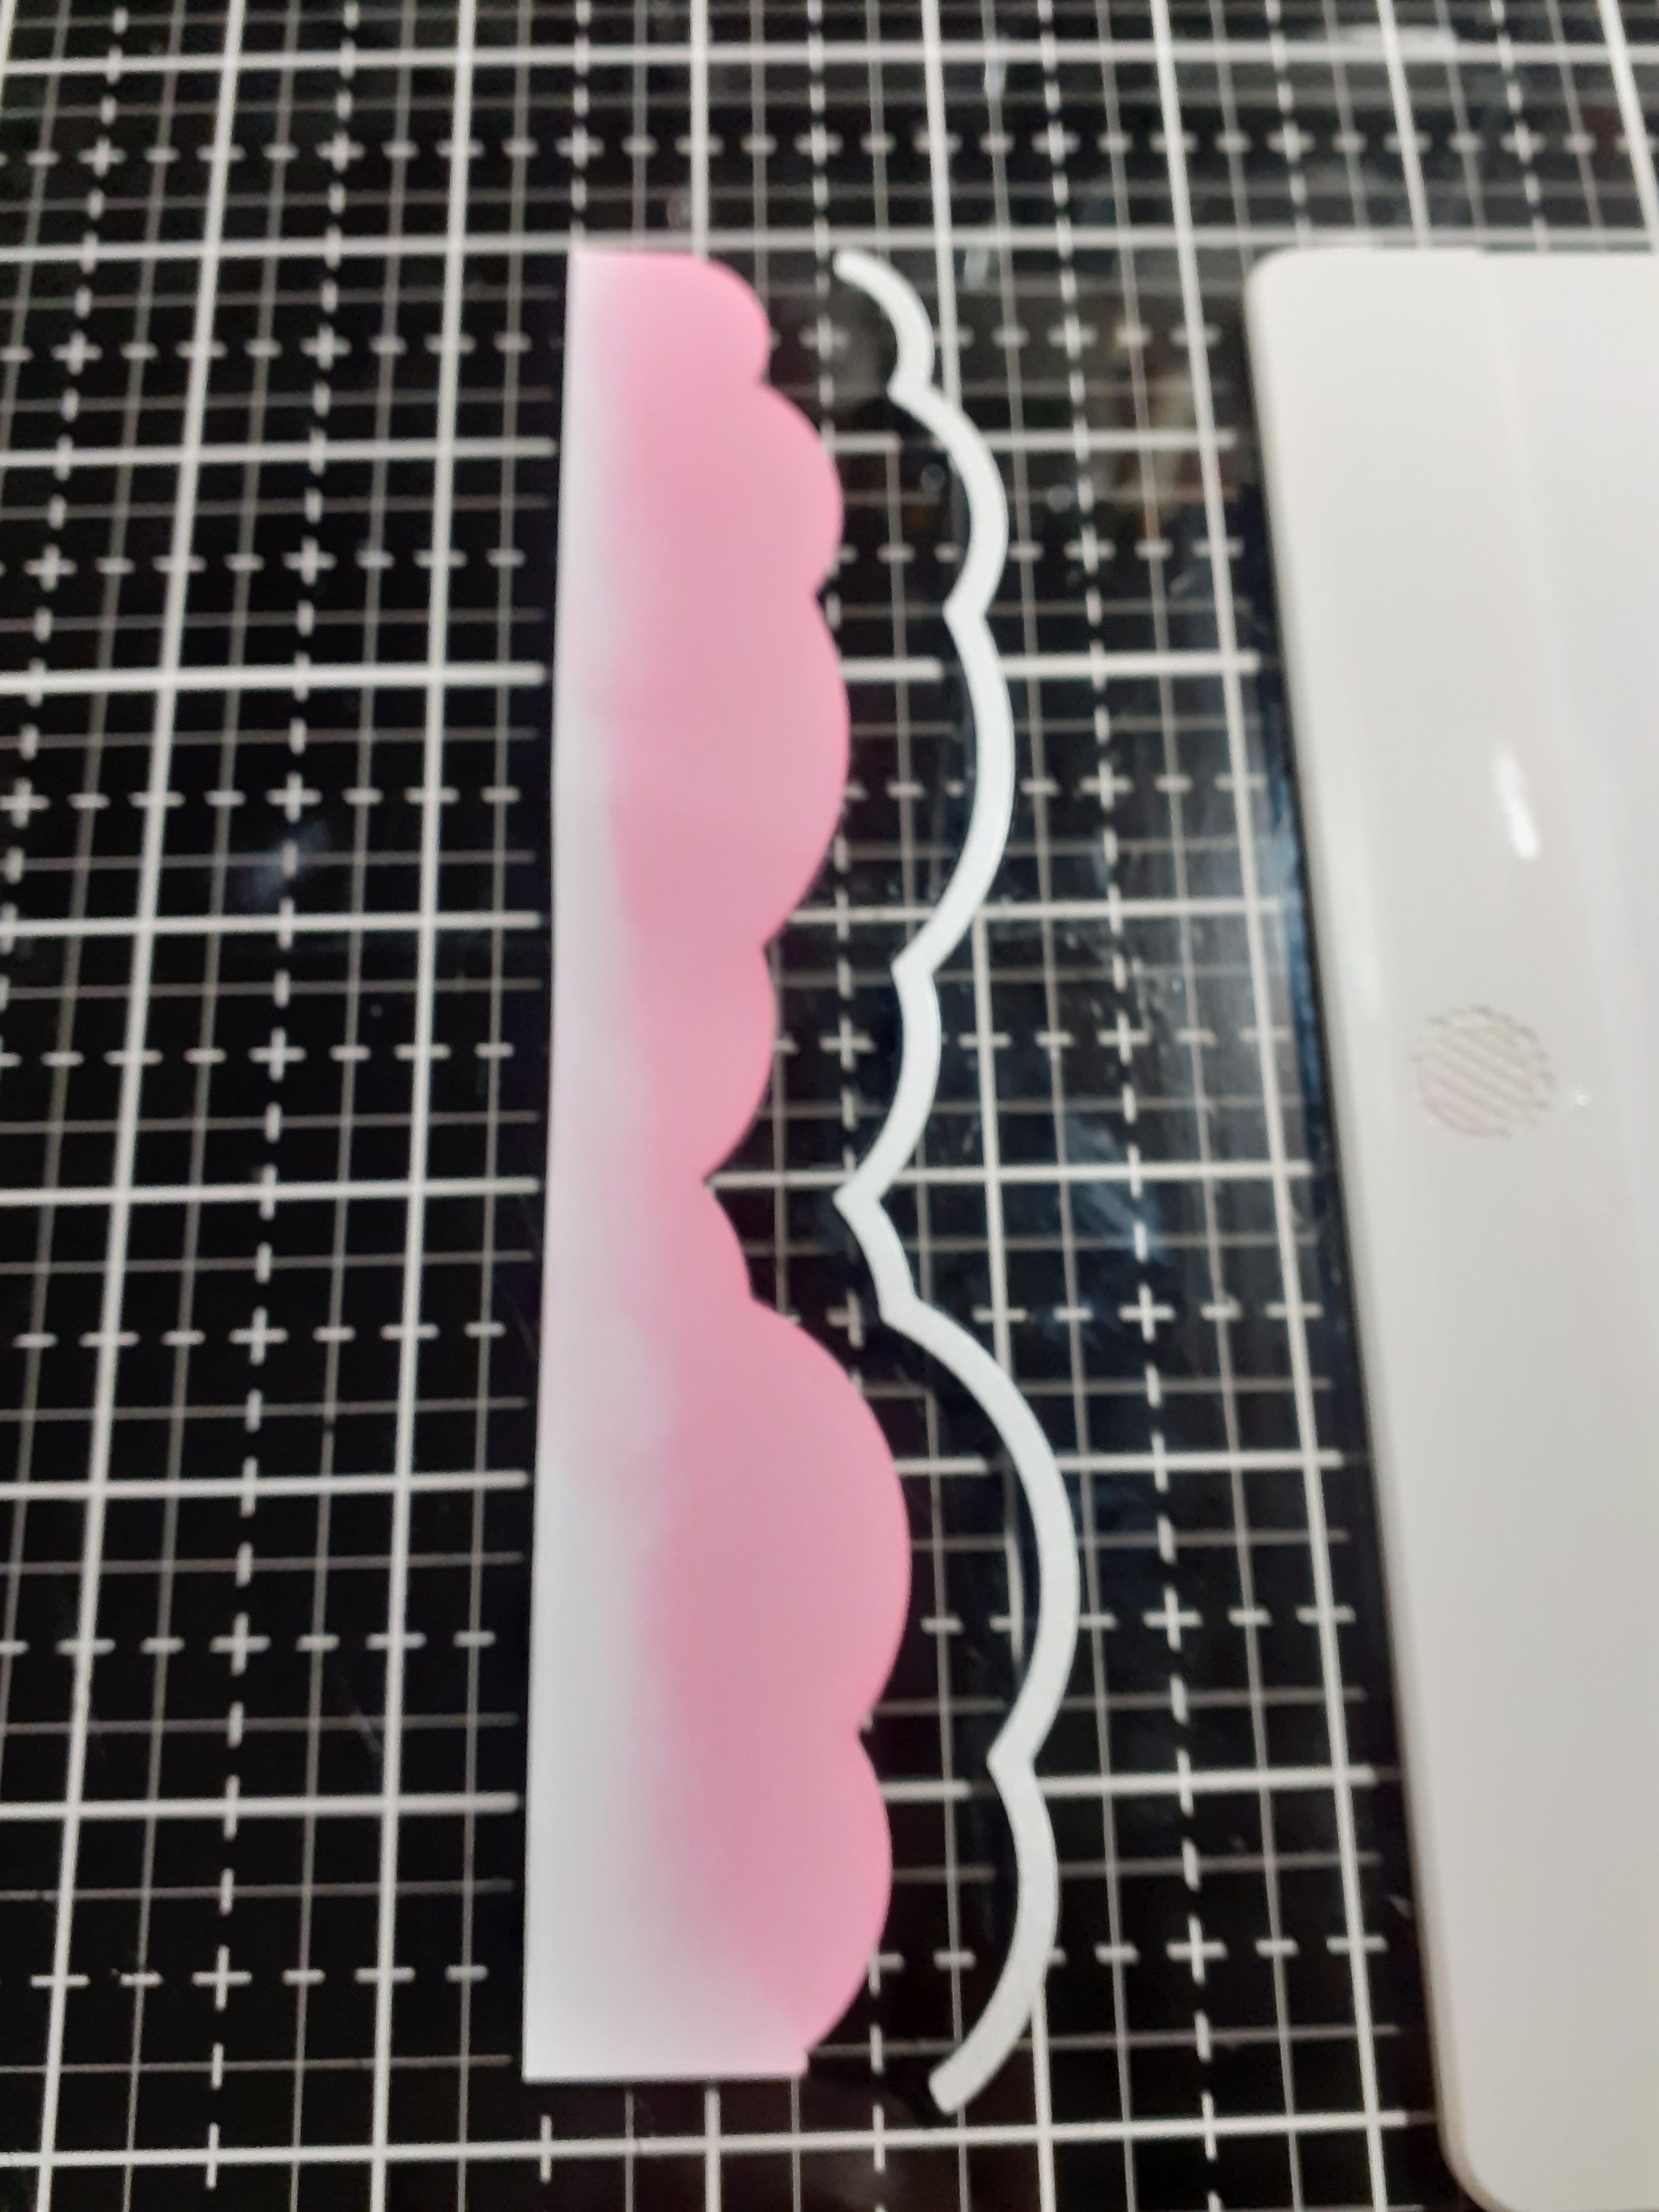
 Die cut out your rocket and keep the die cuts in the negative cardstock. 


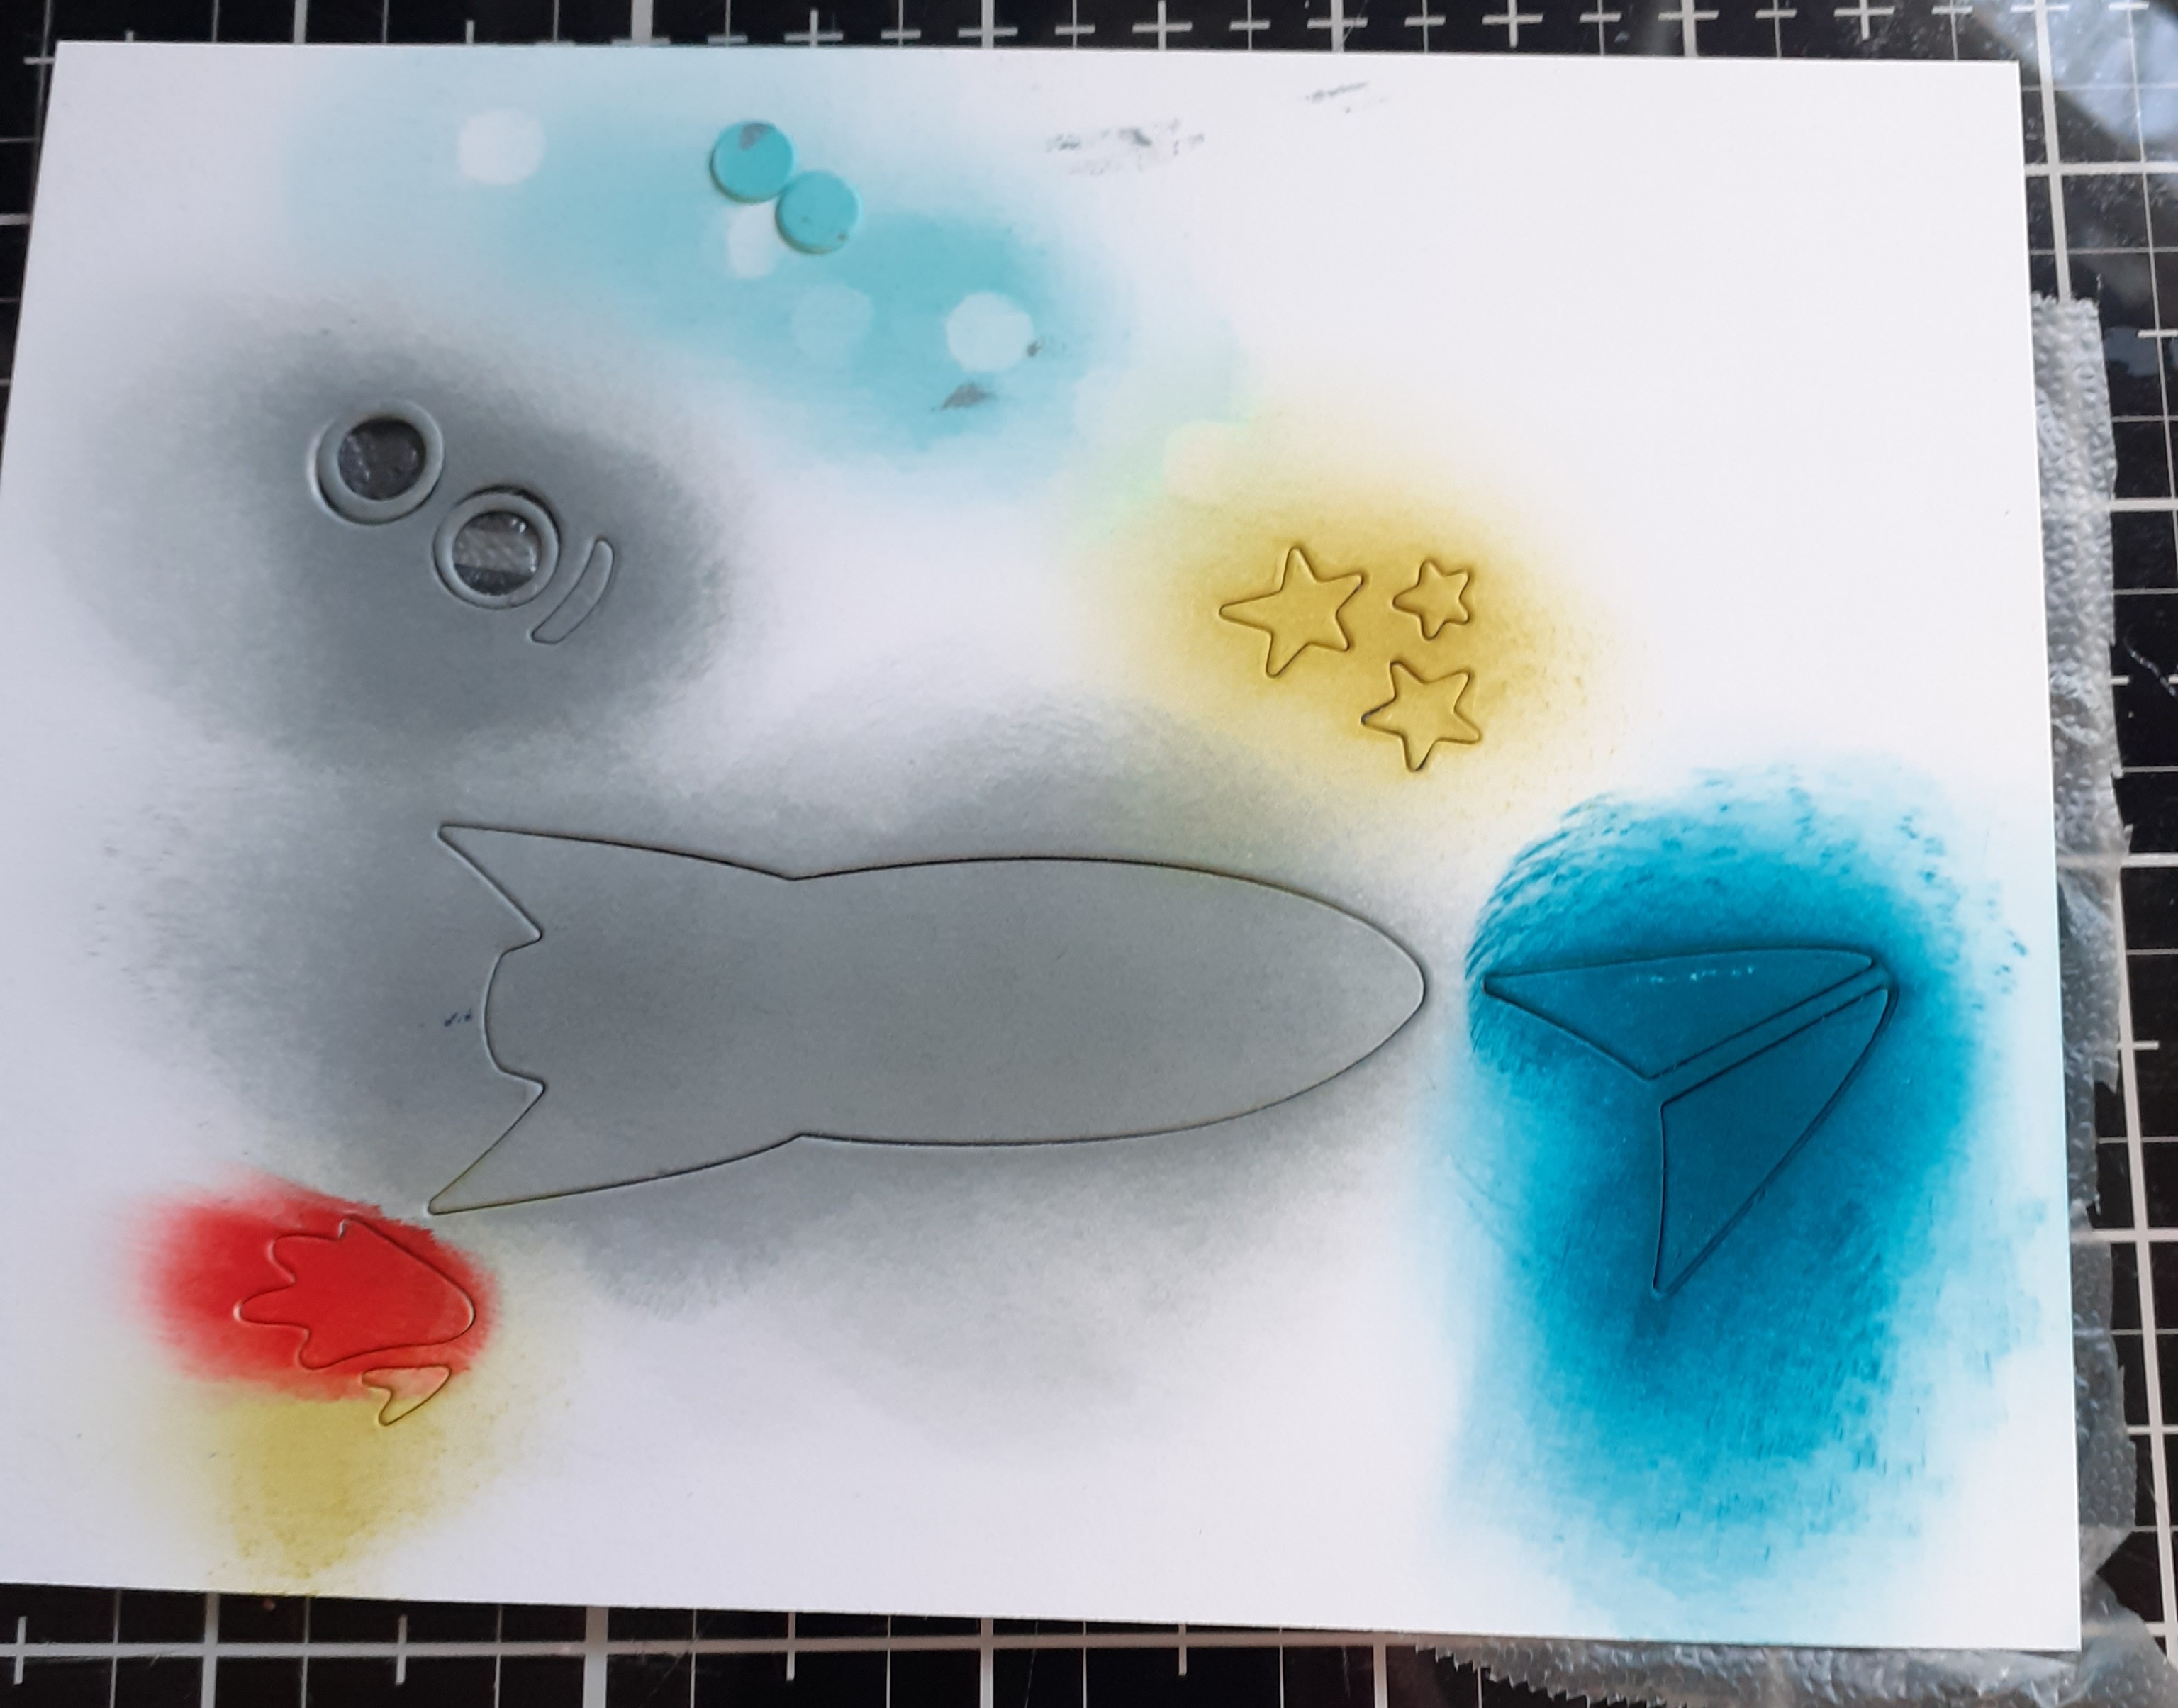
Using a small blending brush add colour to each part of your elements. Let them dry before assembling them. 


Then using the plant stamps and dies make up your plants. I cut everything out of white cardstock and coloured them with my inkpads. Lastly stamp the sentiment on your moon.
Attach planets and rocket with double sided sticky foam.


I hope you enjoyed this weeks blog, don't forget to share your work over in the Bumbleberry Craftroom Facebook Page.

Happy Paper Crafting

Jo
xxx


Wednesday 23 March 2022

Do You Believe In Unicorn? Using Magical Day Stamp Set & Dies From Concord & 9th.

 Welcome Friends, 

I promised you a "Magical Blog Post this week, so here we Go...

Products

Magical Day Stamps Set (Concord & 9th)

https://www.bumbleberrys.co.uk/collections/concord-9th/products/magical-day-stamp-set-4x6-c9 

Magical Day Die Set (Concord & 9th)

https://www.bumbleberrys.co.uk/collections/concord-9th/products/magical-day-dies-c9 

Distress Oxides in (Squeezed Lemonade, Salt Water Taffy, Kitsch Flamingo, Salvaged Patina.)

https://www.bumbleberrys.co.uk/collections/ink-pads/distress-oxides 

Action Wobble

https://www.bumbleberrys.co.uk/collections/accessories/products/action-wobble-12-pack 

 110lb Card Stock (Neenah)

Clear Embossing Powder (Any)

Perfect Pearls (Ranger)

Crystal Glaze (Nuvo)

Crystal Collection Tinkerbell (Little things From Lucy's Cards)

6 x 6 " Card blank

Method


Firstly I die cut all the elements of the unicorn out of Neenah 110lb cardstock,


Before attaching the parts together i used my ink blending brush and lightly blended some Kitsch Flamingo ink to the tail and maine. 


Next using the border die I created a stencil by cutting out of a piece of scape card and ink blending down my card blank to create pink clouds.


This was also done in Kitsch Flamingo oxide inkpad.


The next step was to create the turn about section of this project. I cut this down to 4" squared.


I started to build my scene by further die cutting rainbow and clouds, out of white 110lb cardstock and ink blending. Adding a little sparkle with water and perfect pearls. I also felt I wanted to add a little stamping to unicorn on his back. Going around the edges with Salvaged Patina and stamping little hearts.

I used an action wobble to attach the unicorn. Stamped and die cut the banner added it using mounting tape. I then added this to the card blank at an angle. finished my project with crystal glaze and crystal gems.

Perfect for all those of us who believe in unicorns.

Happy Paper Crafting

Jo

xxx


Wednesday 16 March 2022

Using A little Stamp To Create A Big Impact With Stamps from Lawn Fawn...…. Bearly Rainy Day

 Well Hello and Welcome

I am loving all the new products arriving from across the pond. 

I think we are all ready for spring. Beautiful colours and fresh new season.


Products
Bearly Rainy Day Stamps (Lawn Fawn)

Black Copic Friendly Inkpad (Memento) 

Masking Paper

Neenah Solar White 80lb Cut to 3 1/2" x 7 3/4"

Black / Grey  Water prof Inkpad (Versafine)

Clear Embossing Powder

Tear Drops (Little Things from Lucy's Cards) 

Alcohol Pens (Copic's or Similar) 

Black Card Stock (Lawn Fawn)

Crystal Glaze (Nuvo)

Card Blank 4" x 8 1/4" Slimline

Method 


Stamp out your bears in memento ink, use your misti to help you line up you images.


Mask over the two little bear and the bear next to them and add Splashes, Puddles, Frog in black memento and the rain drops in grey. Use the cluster of drops then fill in around the images with the single droplet.


Colour in your images in your chosen colour scheme and use a very light aqua blue for your, rain drops, puddles and grey for the ground.


To finish your card stamp and emboss your sentiment, then mat and layer it on to black card stock. Add crystal glaze or glossy accents to your rain drops and puddles. 
Finally add the tear drop gems to the umbrella hoods.

I do hope you liked this weeks blog post, I will be back next Wednesday with a little it of  a Magical theme.

Happy Paper Crafting
Jo 
xxx


Wednesday 9 March 2022

March Is A Busy Card Making Month, The Sweet Spring Mice From Honey Bee Stamps Have It Covered.

 Hello and Welcome 

Well March is here so that means St Patricks on the 17th for Our Irish Friends and Mothering Sunday on the 27th. Time to pull out the latest release from Honey Bee Stamps the very cute Sweet Spring Mice. These images cover all manor of themes for your cards. Here I've create two to show you.


Products

Sweet Spring Mice Stamp Set (Honey Bee Stamps)

https://www.bumbleberrys.co.uk/products/sweet-spring-mice-6x8-stamp-set-hb?_pos=2&_sid=93ab6f392&_ss=r&variant=39819725013074

Warm Wishes Stamp Set (Honey Bee Stamps) Mini Clover Image Optional

https://www.bumbleberrys.co.uk/products/warm-wishes-stamp-set?_pos=2&_sid=69375fc32&_ss=r

Gingham Galore Spring Paper Pad (Honey Bee Stamps)

https://www.bumbleberrys.co.uk/products/gingham-galore-spring-paper-pad-6x6-24-double-sided-sheets-hb?_pos=3&_sid=ca187d90d&_ss=r&variant=39819726

Scripty Happy Die (Lawn Fawn)

https://www.bumbleberrys.co.uk/products/scripty-happy-dies?_pos=1&_sid=f889cc9a7&_ss=r

Alphabet Dies (MFT or Similar)

4" x 4" Square Die (Hero Infinity Dies) 

Small Heart Dies (MFT or Similar)

Noble Fir Cardstock (Lawn Fawn)

Grass Green Cardstock (Gina K)

80lb Cardstock (Neenah Classic Crest)

https://www.bumbleberrys.co.uk/products/neenah-classic-crest-80lb-8-5x11?_pos=1&_sid=78df2a2ef&_ss=r

Alcohol Friendly Black Inkpad (Honey Bee Stamps)

Copic's 

Clover G21, YG63

Mouse Body E43

Mouse Ears V000

Polychromos Pencils

  Earth Green 172, Raw Umber 180, Pink Madder Lake 129

Spanish Moss inkpad (Versafine)

Hugs and Kisses Gem Stickers (Honey Bee Stamps)

Crystal Glaze (Nuvo)

Piece of Green sage Ribbon (Optional)

Method


Stamp out your image in alcohol friendly inkpad, on to your white cardstock. Then colour your image.


Also at this point stamp out, part of the stamp so you have another two clover images. Colour them the same as the one is the mouse's hands.


Next taking your 6 x6 green sheet of gingham paper and die cut a 4" x 4" square out of it at a wonky angle. Then place a square slightly bigger of green cardstock behind (Grass Green) attaching it with glue. 


Add some ribbon using a tape runner to attach. (Optional)


Stamp the little clover stamp with the Spanish  Moss in pad randomly on the green cardstock.

Lastly die cut the word Happy and  all the alphabet dies to say ST Patrick's Day and Hearts. Use a darker shade of green cardstock.

 Arrange on your card and foam mount the mouse. Finish with Gems and Crystal glaze on the hearts.

Hers A quick look at the Mothers Day card I also made.


I simply stamped out images coloured them in using my alcohol markers and foam mounted them on to a slim line card. Stamp out the greeting on a separate piece of cardstock and stamped "So Loved" straight on to the the green flower pot.

I do hope you enjoy todays blog

Happy Paper Crafting 

Jo

xxx


Wednesday 2 March 2022

Using Up Scrapes, and Sentiments to Create Colourful Backgrounds on your Cards.

Well Hello and Welcome

This week I've been trying to use up my scraps. I love nothing more that cutting my coloured cardstock in to strips my Ranger guillotine. I make sure they are all exactly the same size as that gives similarity to my project. But this doesn't have to be the case.

Products

Sentiment Stripes 3 Stamp Set (Altenew)

Star Dies (Concord & 9th) (Any)

Different Cardstocks in Rainbow Colours (Lawn Fawn) (Any)

Glitter Card Stock (Memory Box)

White Detailed Embossing Powder

Embossing Ink Pad

6 x 6" Card Blank

Method


Cut all your cardstock in 1/4 of an inch width stripes.


Using a misti or similar line up your pattern, glue stripe by strip.


Stamp and emboss your sentiments by lining them up on the stripes of cardstock. First use a antistatic tool or bag as powder tends to disappear in the cracks of the cardstock. I also used a fine paint brush to remove it before heating. 


One heat embossed in a fine white powder as this shows up on the darker colours of cardstock. Use a cloth to gently wipes of extra static powder.
This gives a clean and simple look to your design.


Finally I added another sentiment (Hey, Girl) and three die cut stairs from gold glitter card. This was then finished.

Thank you for popping over
Happy Paper Crafting 
Jo
xxx


Followers