Wednesday 29 January 2020

Stamping And Colouring With Perfect Pearls, on Black Card using Magical Friends

Well Hello Crafty Friends
I see our old favorites Perfect Pearls are making a come back. With Ranger releasing new colours at CREATIVATION 2020
So I though I dig mine out, their about 10 yrs old and still perfect. excuse the pun!


Products
My Favorite Things Birdie Brown Set Magical Friends
Lawn Fawn Black Licorice Card Stock Cut To 4 1/2" x 11 3/4" 
Folded at 5 3/4 " to create top folding card.
Plus a scrap for sentiment
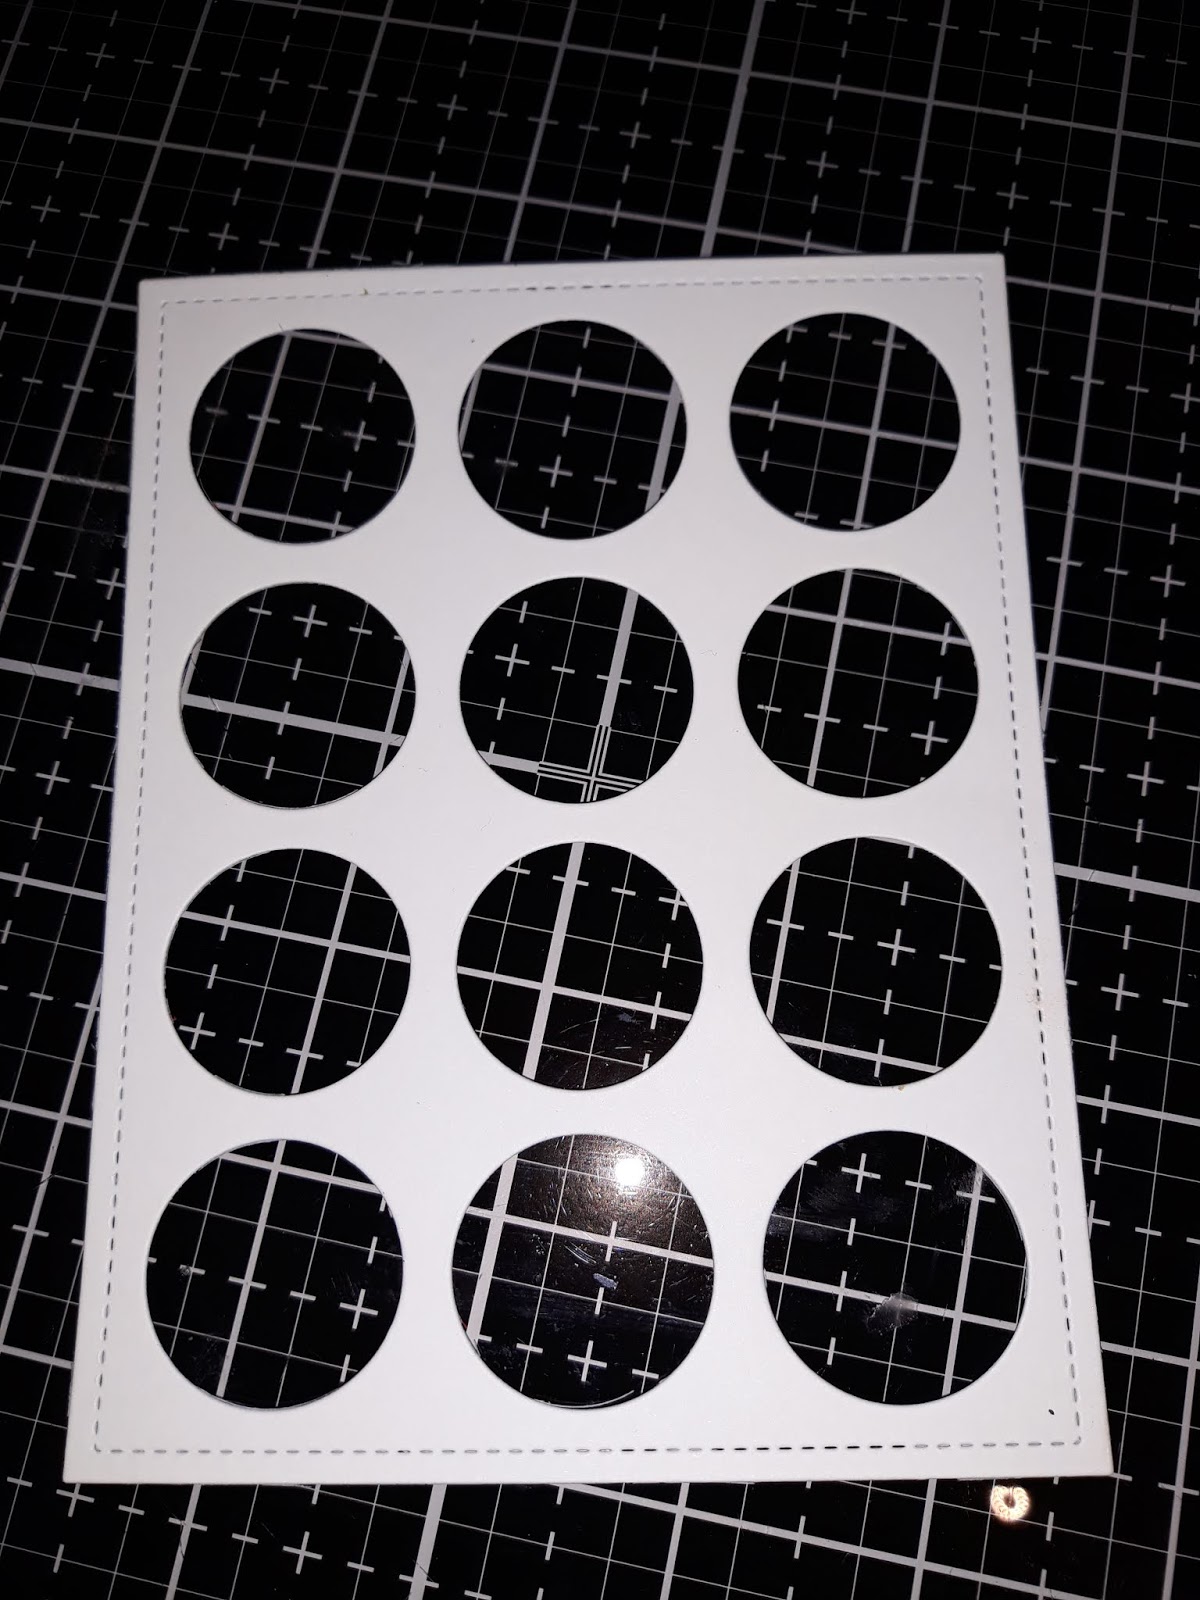
MFT Mini Cloud Stencil
Hero Arts White Unicorn Ink Pad
White Paint For Splats
Rangers Perfect Pearls in
Perfect Pearl and Water for Splats
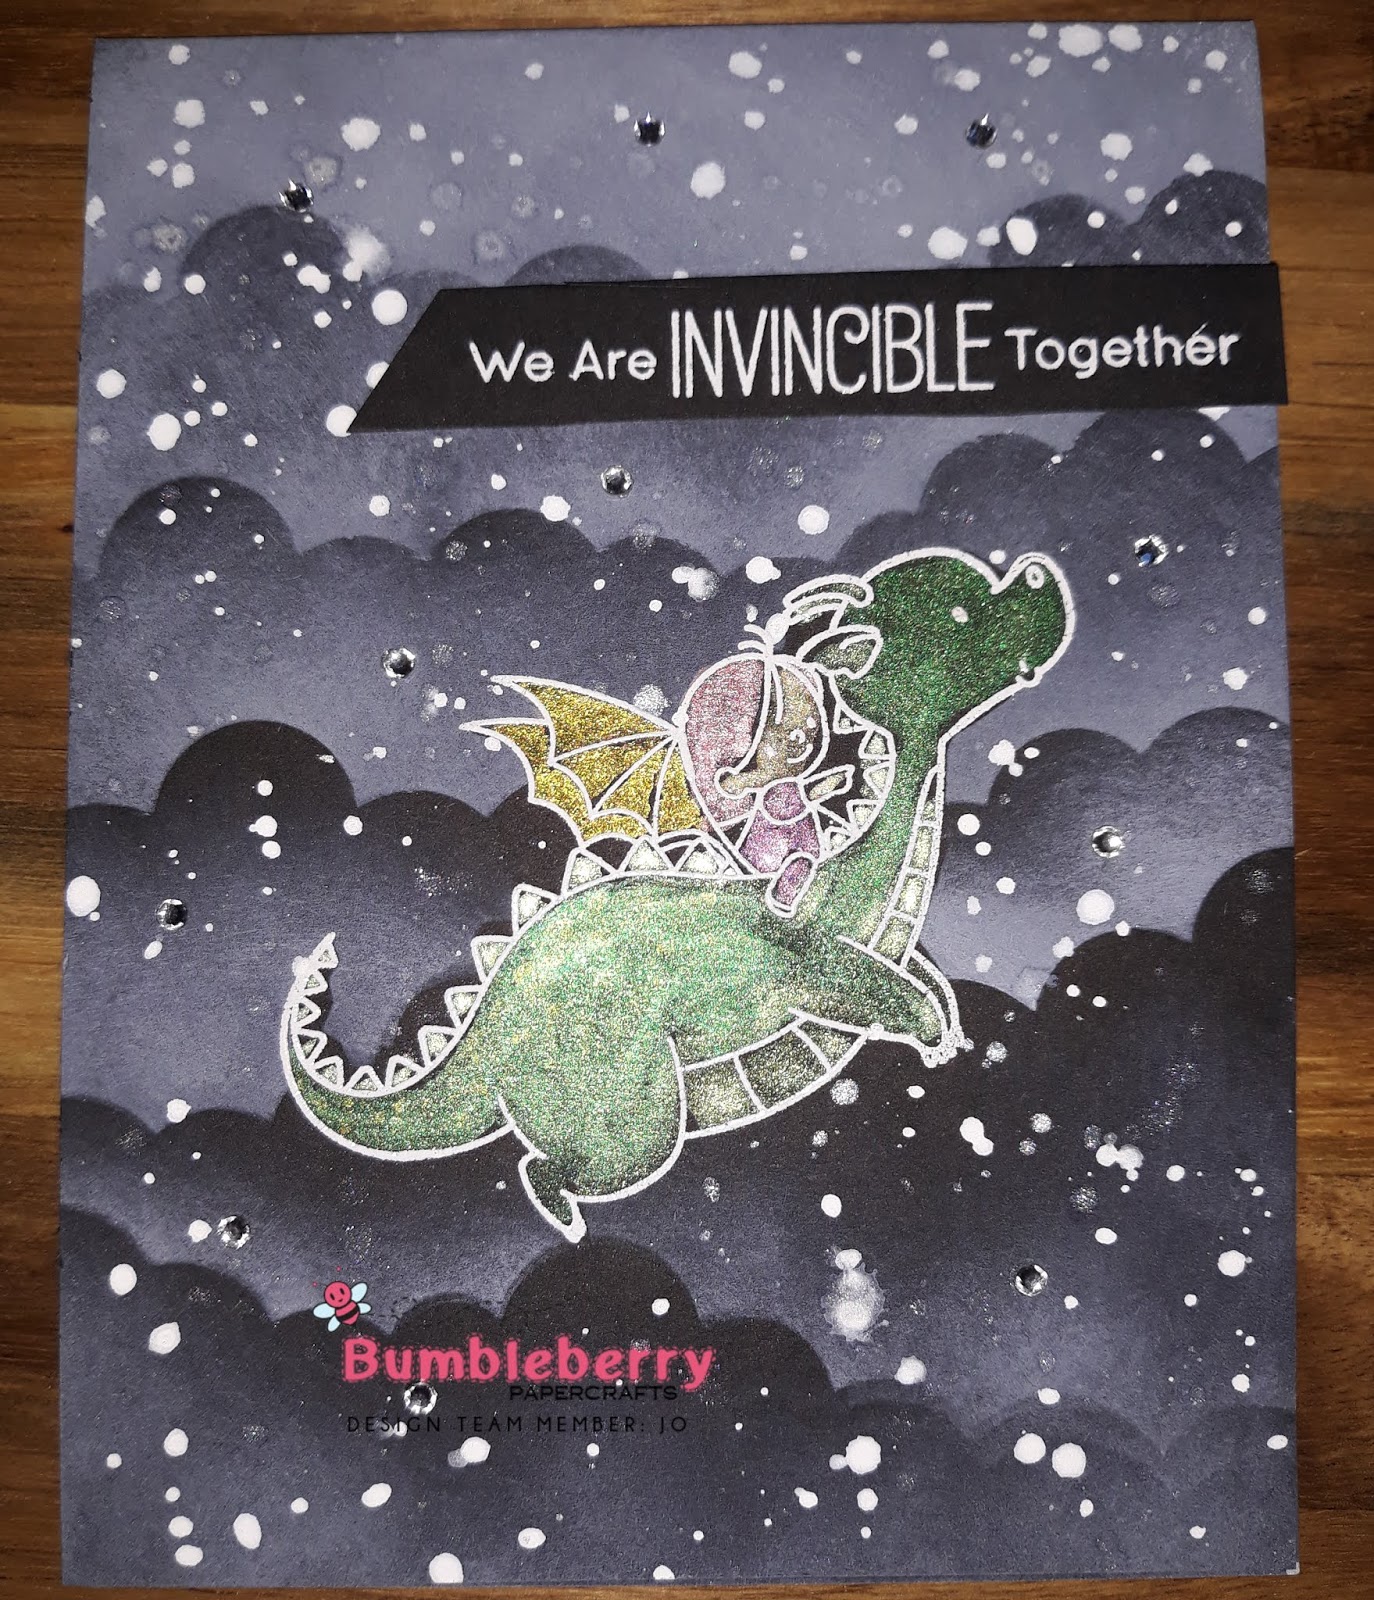
 Forever Green Main Dragon
Interference Green Highlights on Dragon
Sunflower Sparkle Wings
Forever Red Dress
Biscotti  Face
Rust Hair
Wow Opaque Bright Super Fine White Embossing Powder
Masking Paper 
Embossing pad
Honey Bee Gems 

Method
Once you have made your card blank, stamp straight on to the front in embossing pad ink, the dragon and girl image.
Emboss in white embossing powder.
Mask over the image, and using white ink pad and mini cloud stencil create your sky.
Then using white paint and perfect pearls and water create your splats.
Then when dry remove your mask and make up paints with perfect pearls and water. Use to colour the different parts of your image.
Why it is drying, stamp and emboss your sentiment in white embossing powder on to black card scrap.Then attach it to your card using double sided foam squares.
Finally add little gems, randomly around your scene.
Then your card is complete.
I do hope you enjoyed a visiting Perfect Pearls with me. 
I will be bring more techniques in future blogs this year. 
Happy Stamping 
Jo
xxx


Wednesday 22 January 2020

You Are My Super Hero, Using My Favorite Things Stamps, Masks and Dies

Well Hello, Hoping All is well, with my "Crafty Friends."
This week I've been playing with the
 MFT Super Boy Stamp and Coordinating Dies.


Products

Stamps

Cordinating Dies

Masking Stencils (Radiating Rays)

One Piece of Neenah 80lb Cut to 5 1/2 x 5 1/2" and 
another piece to stamp and colour your image.
Distress Oxide in Mustard Seed
Black Card Stock 6 x 6"
Scrap of MFT Basic Strips Black / White Paper
Scrap of Black Card Stock
Glossy Accents
Alcohol Markers
White Embossing Powder
Little Black Gems
Card Blank 6 x 6 "

Method

Take your Neenah card stock and stencil on to it using the radiating rays, with mustard seed distress oxide.
Leave it to one side so you can stamp and colour your image. One hes done cut him out with the coordinating dies. Also I cut his mask from a scrap of black card.
Next using your black card piece,6" mat and layer, the black on to the card blank. Followed by your radiating ray stenciled piece of card stock.
Then place foam mounting squares behind your character, and put him in the centre of your card.
At this point I stamped and embossed my greeting in white embossing powder on black card stock. Also I added stripes of striped paper.
Lastly I added my black gems also glossy accents to my superhero, on his mask, belt and top of his boots.
Happy Stamping
Jo
xxx


Wednesday 15 January 2020

Lawn Fawn Just My Type......Using A Rainbow on Black

Well Hello Crafty Friends
Carrying on with the valentines theme today, I decided to play with a rainbow idea I've been thinking how to incorporate it into my design.
I love the little type writer stamp, and started playing with some ideas. This is what I came up with.


Products
Lawn Fawn Stamps Your Just My Type
Mama Elephant Circular Grid Die Plate
Distress Inks In Mustard Seed
Picked Raspberry
Peacock Feathers
Twisted Citron
Lawn Fawn Black Card Stock
Gina K Amaigam Ink
Neenah Card Stock 80lb
Alcohol Markers
Versa Mark or Embossing Pad
Wow White Embossing Powder (Detail)
Black Card Blank 4 1/2 x 5 3/4 (side folding)

Method


Firstly I die Cut out the Grid.

I then selected my inks

Using a blender brush I blended on my colours.

I then stamp out my images using my black in on to Neenah card stock.

Coloured them with alcohol markers

Die cut them with coordinating dies

Added my grid to a black card blank.I stamp the heart design in versa mark ink and embossed in the wow embossing powder.


I then added the die cuts and raised the desk, and the mouse on sticky foam pads. At this stage I was going to put my sentiment on a strip at the bottom of the card.But instead I decided to add it to the typewriter page as it looked better.

I hope you enjoyed today's blog post
Happy Stamping 
Jo
xxx


Wednesday 8 January 2020

Quick One Layer Design (Direct to Paper), Perfect For Valentines Or Just a Card To Say You Care.

Well Hello and Welcome,
Its that time of year when we start going back to our usual routines. No more festiveness. It's a shame those morning lie in are so good. Especially on dark cold mornings.
But alas, penny's need to earned and bills need paying so back it is.
The next big date on the card makers agenda, is Valentines Day. So the latest releases from the states are definitely on that theme.

One such set, is 
My Favorite Things, You Have My heart
 
I think this little lady and her dog are so cute.
Also I used
Distress Oxides in Tumbled Glass, and Crushed Olive.
I used a one layer technique, which I will explain.
Circle Mask or Paper with a Circle Die Cut Out.
Gina K Lipstick Ink
Alcohol Markers
Black Card (scrap)
Wow Detail White Embossing Powder
Little Things From Lucy's Cards Cherry Mix
6 x 6 Inch Card Blank
Glossy Accents
White Pen for Detail (stitching on dress)

Method
Stamp and mask your image straight on to the front of your card blank.(This is called one layer stamping as you are going straight on to card blank with no extra mat or layer.) 
Then I used a circle mask over the top. But you can easily make one, by die cutting one if your circle dies out of printer paper or masking paper.
I then using blender brushes, blended the sky and the grass with Distress oxides.
I left these to dry for a little time.
I then removed all masked coloured my image with alcohol pens. Stamped and embossed my sentiment added some stamped hearts. Glossy accents to the girls heart.
This is a very quick and easy design.

Also added my gems.
Lastly I add stitching to her dress, with a white jelly roll pen.

Happy Stamping
Jo
XXX


Followers