Wednesday 27 April 2022

My Love For You Can Only Grow Using The Friendship Garden Stamps And Dies, From Concord & 9th.

Welcome Crafty Friends,

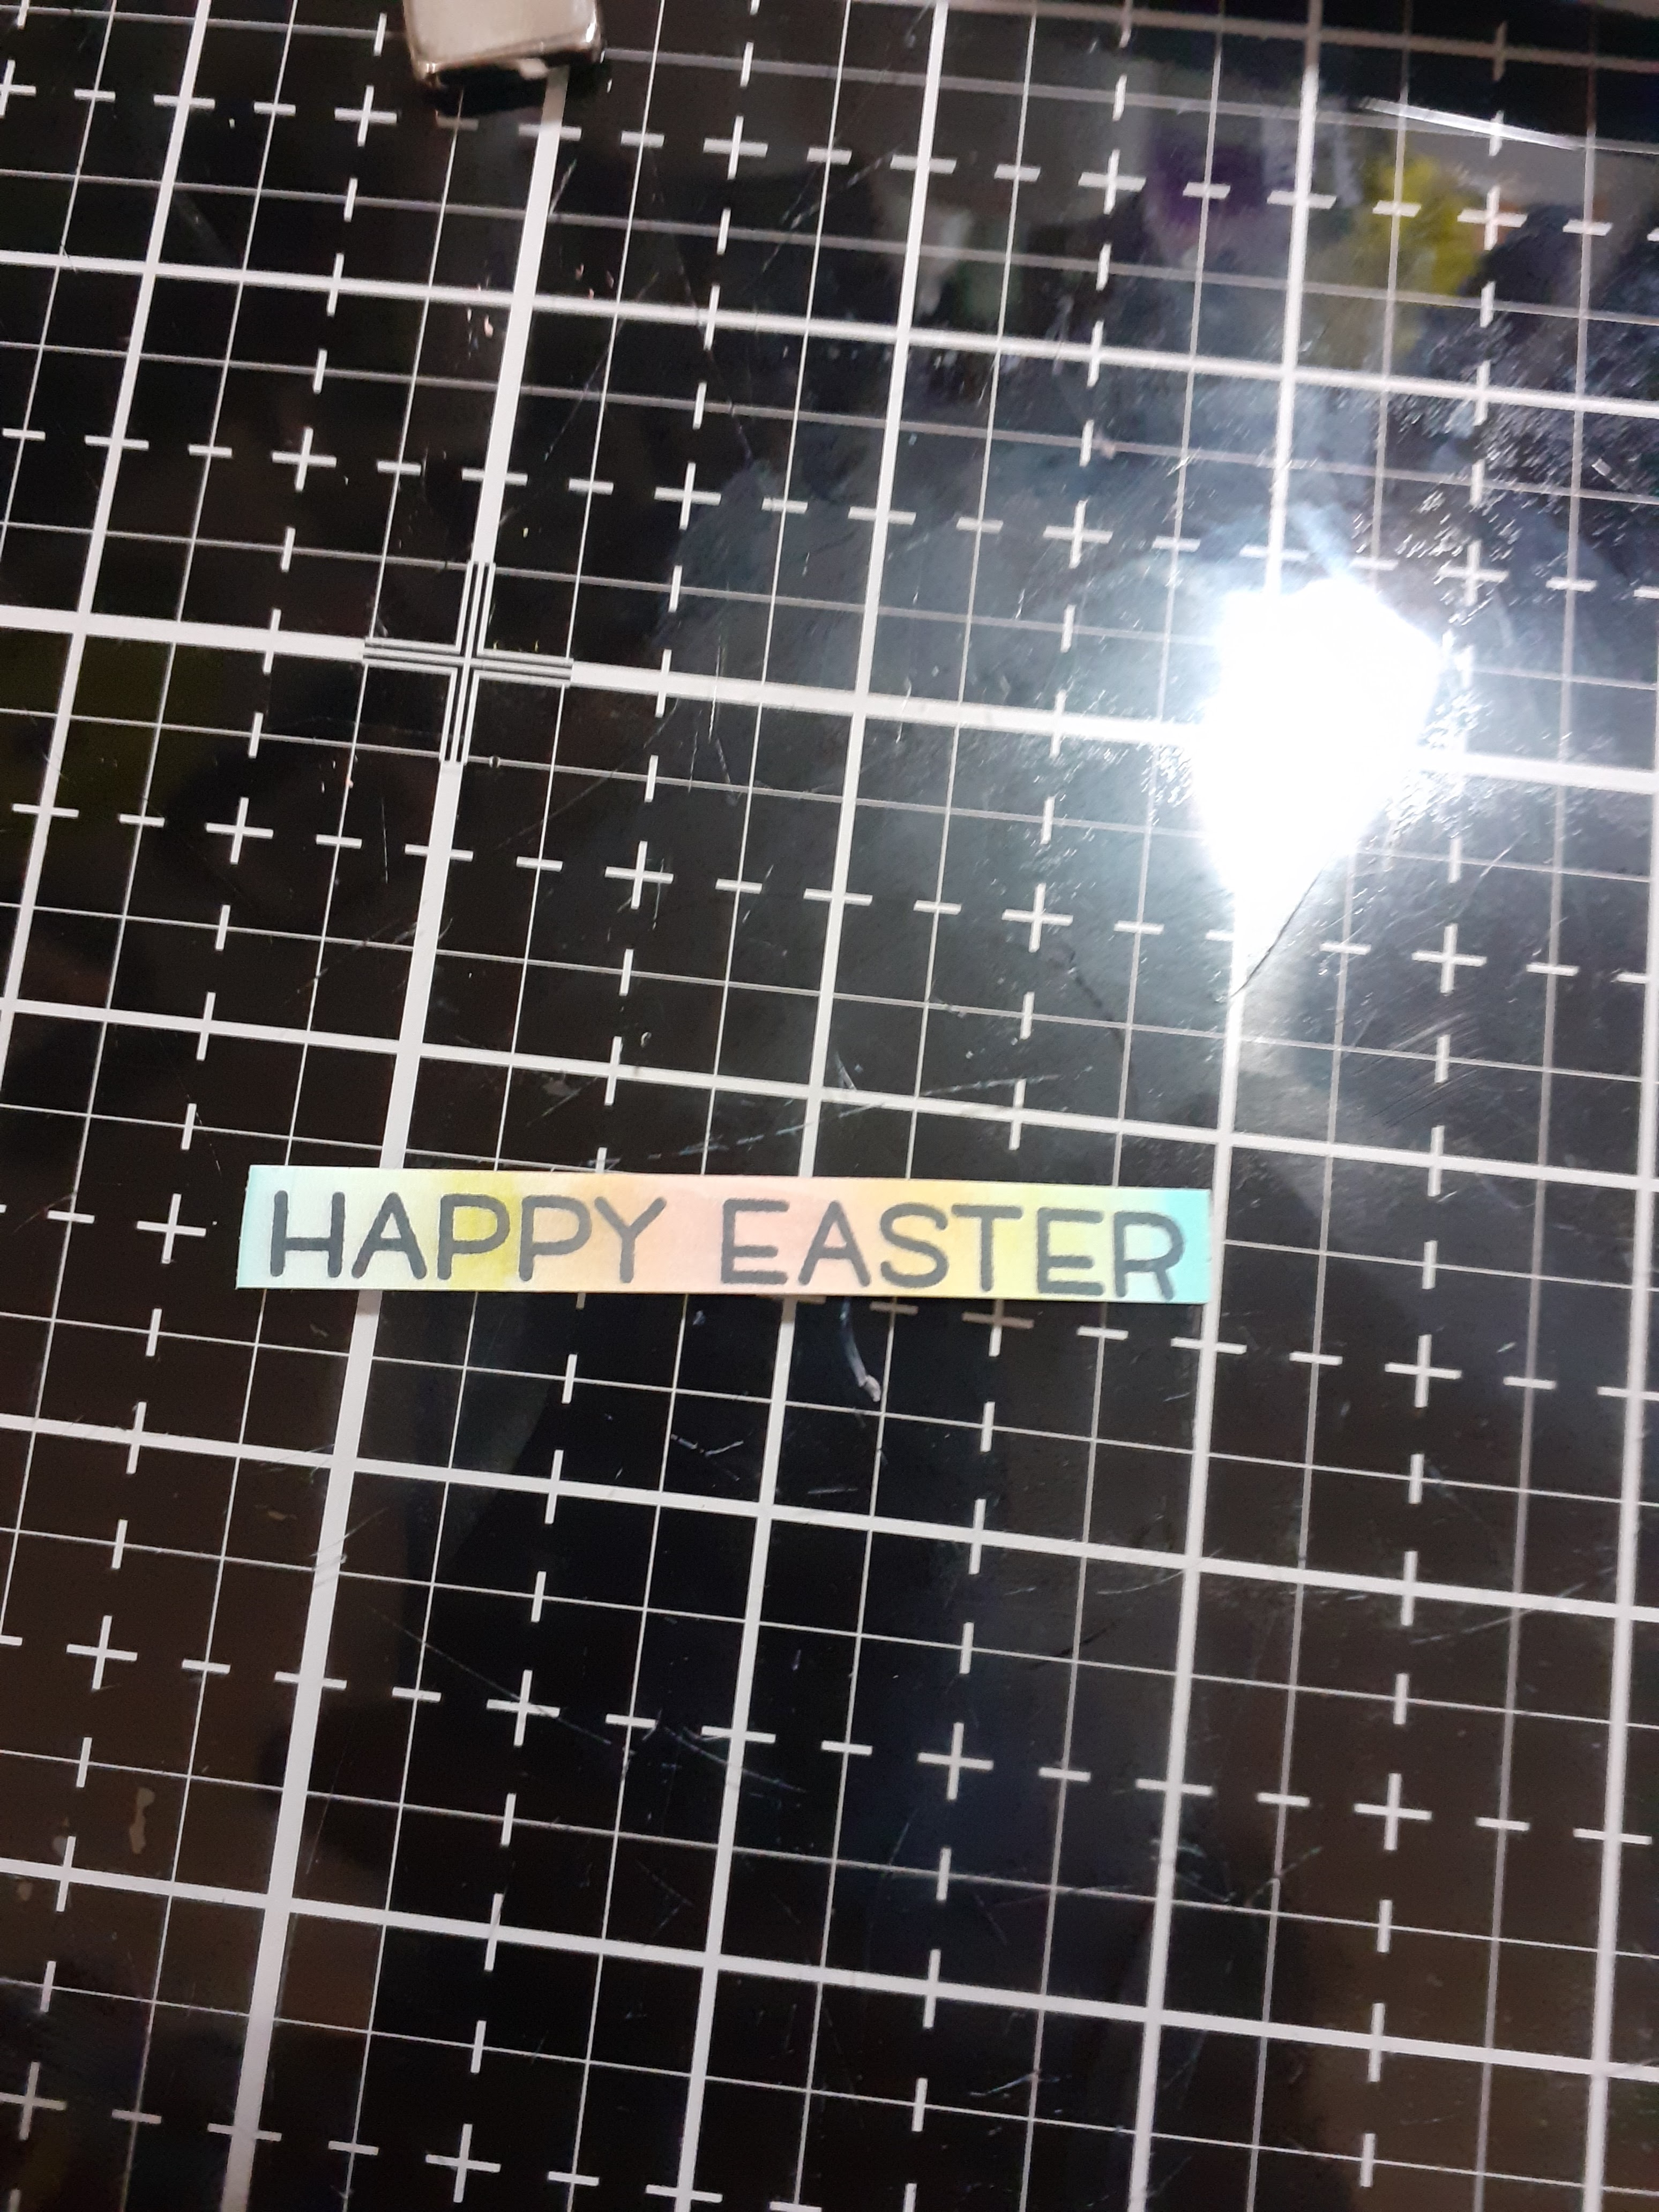
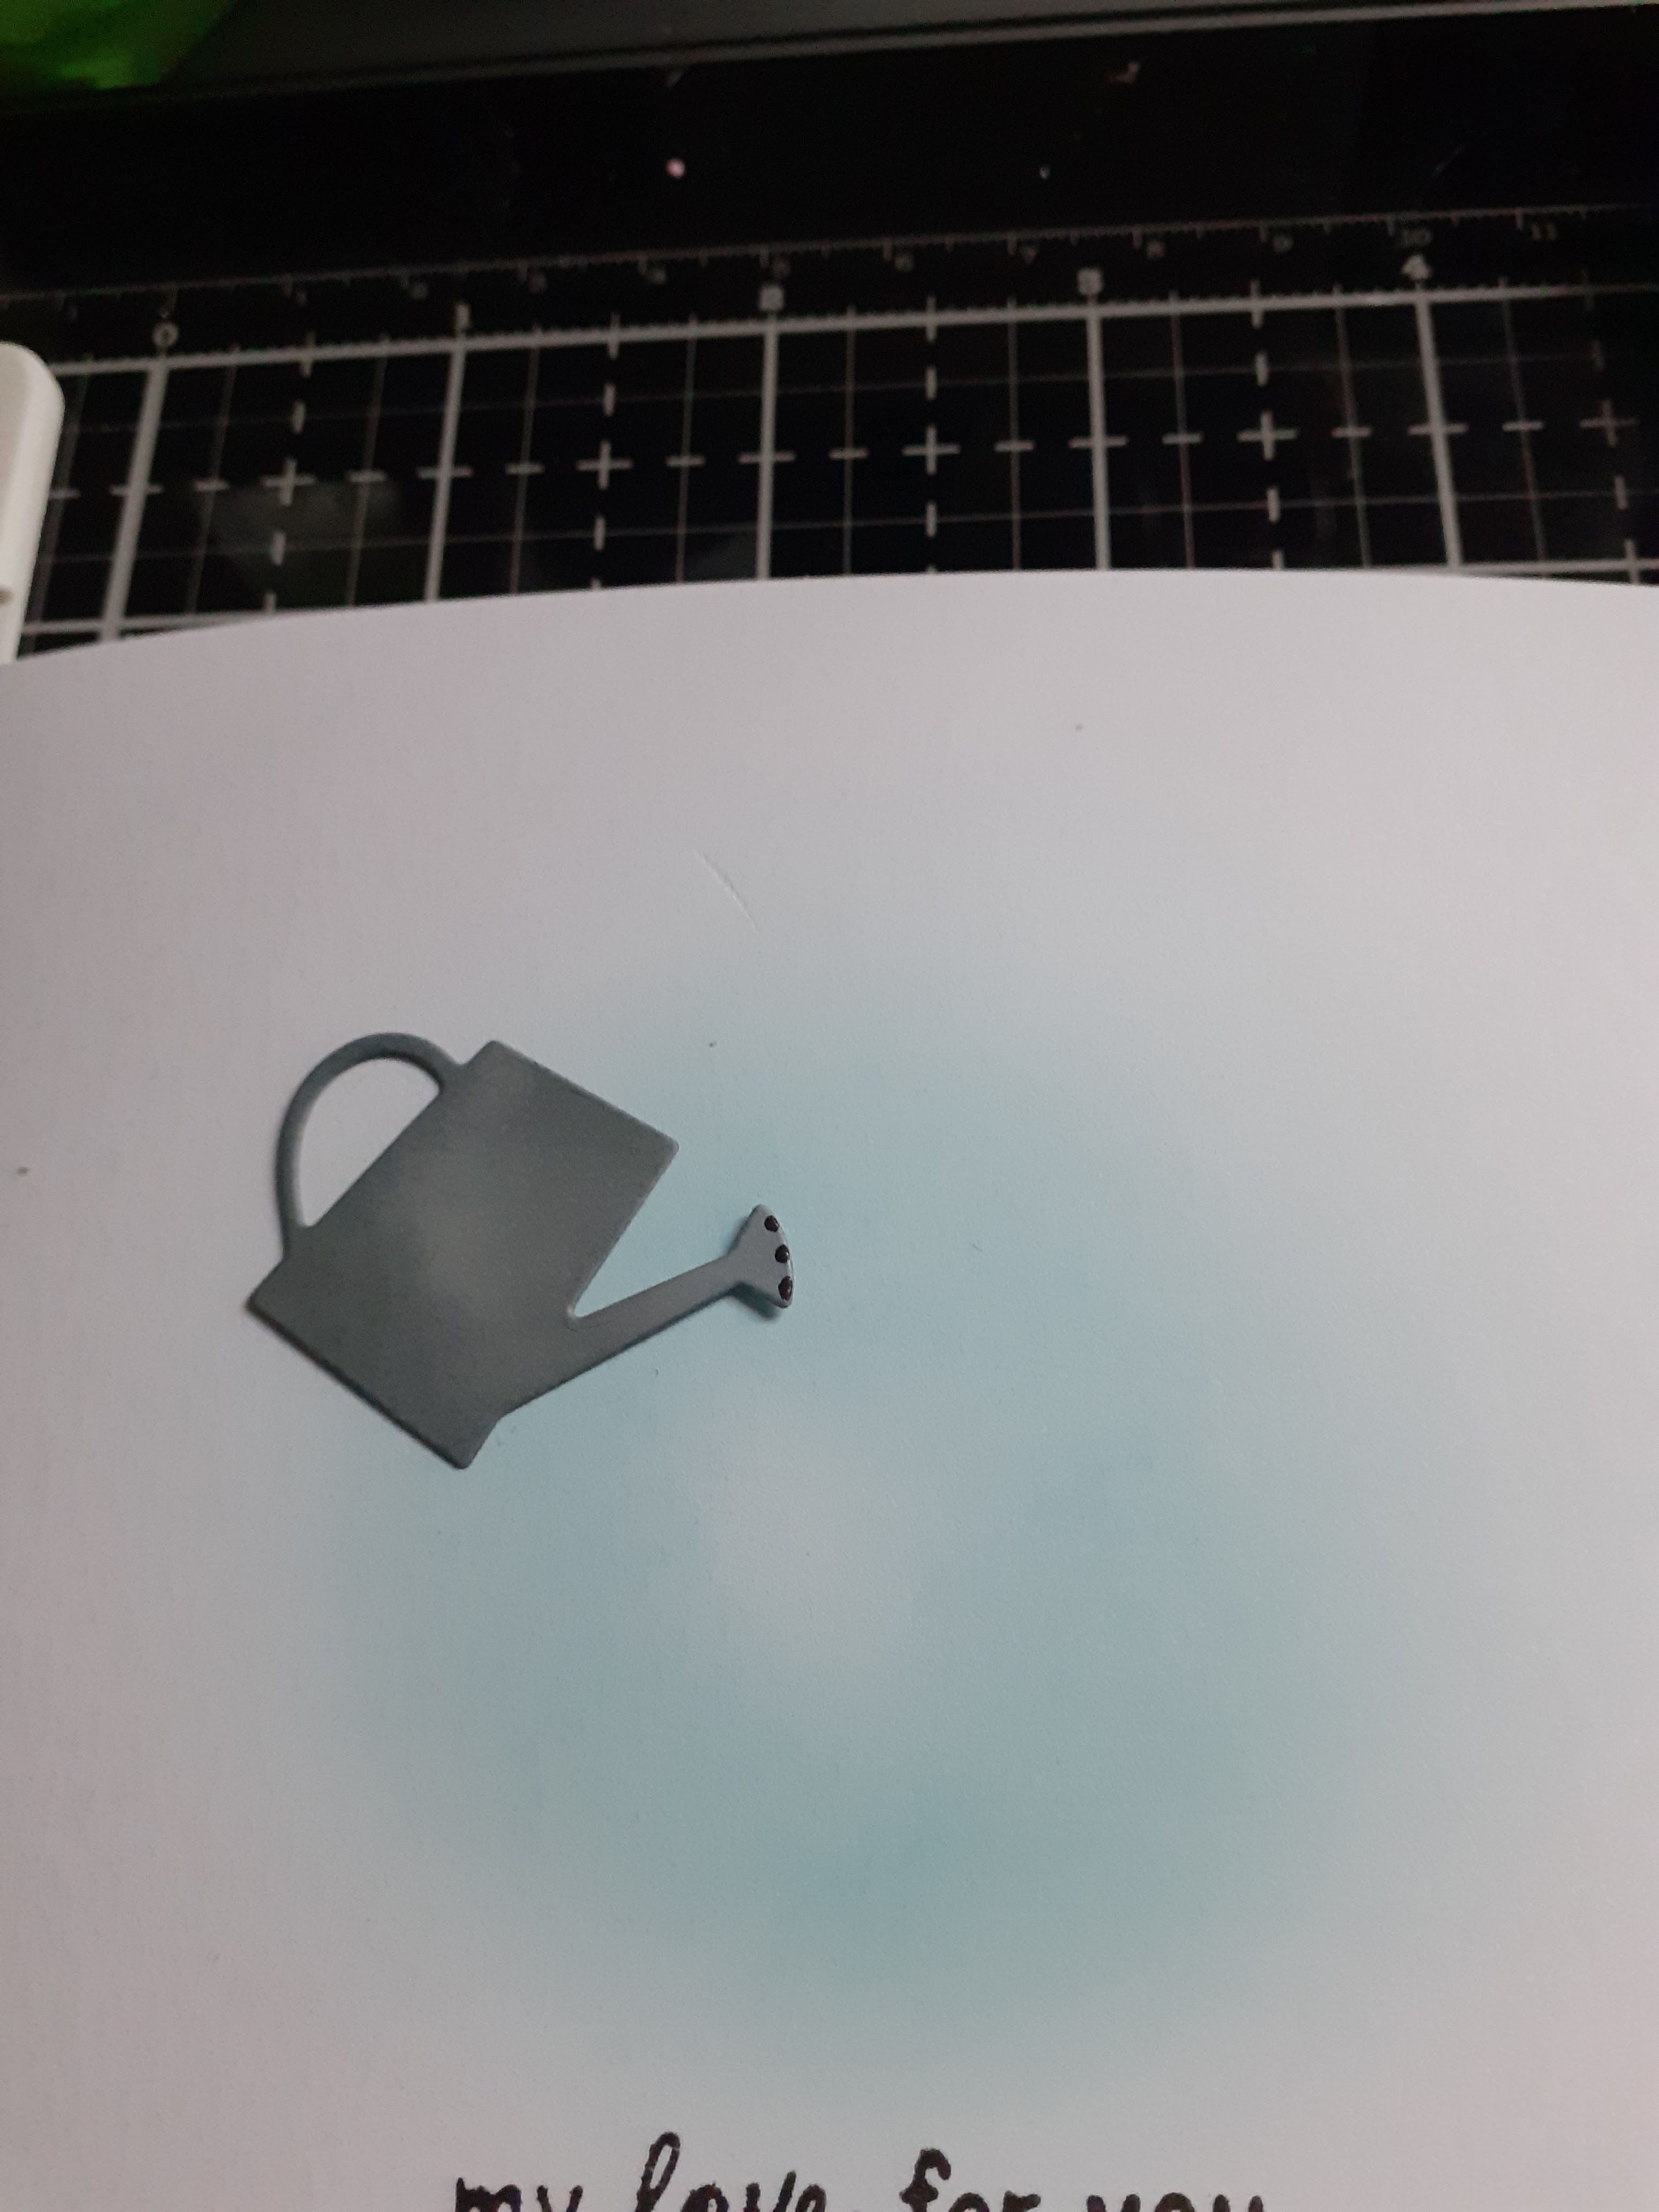
Hope your well, today I've been playing with the dies and stamps from the Friendship Garden set from Concord & 9th. This pretty little set has many great saying and stamps. But mostly I'm in love with some very cute dies that allow you to make up vases, welly boot, and crate with a flower display.

Products

Friendship Garden Stamps (Concord & 9th)

https://www.bumbleberrys.co.uk/collections/concord-9th/products/friendship-garden-stamp-set-4x4-c9 

Friendship Garden Dies (Concord & 9th)

https://www.bumbleberrys.co.uk/collections/concord-9th/products/friendship-garden-dies-c9 

Card Stock In 

Spout, Ballet Slippers, Wheat and Dove (Concord & 9th)

White 80lb  (Neenah)

Inks pads In

Parsley, Honeysuckle, Aqua Sky, Wheat, And Dove (Concord & 9th0

Distress Marker In Vintage  Photo (Ranger)

Onyx Black  Detailed (Versafine)

Tuxedo Black Alcohol Friendly  (Memento)

Glaze  Jelly Roll Pen (Sakura)

Black Jelly Roll Pen (Sakura)

Gold Signo Broad Pen (Uniball)

Ebony Black Crystal Drops (Nuvo)

Enamel Drops In Buttercup (Concord & 9th

https://www.bumbleberrys.co.uk/collections/concord-9th/products/enamel-dots-buttercup-c9

5 x 7" Card Blank

Method


First stamp out your sentiment in versafine ink. make sure you heat set it. Using a blending brush in a circle motion create a back drop for your die cuts in Aqua  Sky.


Die cut the Watering can out Dove cardstock. Using a detailed blending brush add Dove ink around the watering can. Leaving a lighter middle to the can. Stick this at an angle allowing room for your box of flowers.


Die cut out all your pieces from your cardstock. 


Add shading with inkpads, using a shade darker than the cardstock to give more dimension.


Stick die cuts together, at this point I added black dots to the box and gold pen when they were dry.
I added lines like water coming out of the watering can, and coloured the heart. I used a distress marker to add wood effect to the box.

  Lastly I added Enamel dots to flower centres and Using a black jelly roll to the holes to the spout. 

I do hope you enjoyed todays blog.

Happy Paper Crafting

Jo

xxx


Wednesday 20 April 2022

Have a Berry Happy Birthday Using The Latest Spring Release From Lawn Fawn

 Well Hello and Welcome 

I do hope you have had a nice Easter, wither you were visiting friends and family or just eating chocolate. Easter is a lovely time of the year with all the spring in the air.

Today's card using products from lawn fawn, I love these cute little mice who are strawberry picking.

Products

Berry Special Stamps (Lawn Fawn)

https://www.bumbleberrys.co.uk/collections/lawn-fawn/products/berry-special-lf 

Berry Special Dies (Lawn Fawn)

https://www.bumbleberrys.co.uk/collections/lawn-fawn/products/berry-special-lawn-cuts-lf

 Mini Cloud Stencil (MFT)

https://www.bumbleberrys.co.uk/products/stencil-mini-cloud-edges?_pos=1&_sid=c81544aff&_ss=r

Grassy Edges Stencil (MFT)

https://www.bumbleberrys.co.uk/products/stencil-grassy-edges?variant=12668132851794

Inkpads in Mermaid and Jalapeno (Lawn Fawn)

Inkpads in Tuxedo Black and London Fog (Memento)

Copic Markers in 

B00, B97, R27,RV02,Y08, YG06,YG09,E37,E43,E71

Crystal Glaze (Nuvo)

Black and White Jelly Roll Pens (Sakura)

Black Cardstock 

White Embossing Powder

51/2 x 51/2" White Cardstock

6 x 6 " Card Blank

Method

Stamp out your images in Black Memento ink, Die cut them or wait till after you coloured them.


Using your alcohol markers, colour in your images.


 Using a blender brush and stencil add the clouds using Mermaid ink. On to white cardstock cut to 51/2 x 51/2".


Next do the same, using Jalapeno ink add the grass.


Next start adding your images to work out your lay out. Add your buzz words and detail line for your bee in London Fog Ink.


Stamp and emboss your sentiment.


Lastly add Crystal Glaze and jell roll white high lights when Crystal Glaze is dry.
I also add some colour mating Nuvo Drops. (Sprig Of Mistletoe and Berry Red)

Hope You Enjoyed This Weeks Post

Happy Paper Crafting 
Jo
xxx


Wednesday 13 April 2022

Mixing And Matching Old And New Products 2018 & 2022 From Lawn Fawn

Hello Crafty Friends,

With so many releases, you often over look what you have. As a designer my stash is organised by brands. I love nothing more than mixing Old and New products to make a project. It means just because a stamp set is older it can be teamed up with a currently released item. Have you notice all the company's have their own style. So there products work in partnership with each other.

Today I show you an example using old and new products from lawn fawn.


Products
Giant Get Well Die (Lawn Fawn)

On The Mend Stamp Set (Lawn Fawn)

Perfectly Plaid Spring Paper Pad (Lawn Fawn)

Sunflower Cardstock (Lawn Fawn)

White Cardstock 110lb (Neenah or Similar)

Copic's in BG1, R81 and R85 (or Similar)

Nuvo Drops In Various Colours To Match Paper Pad.

Memento or Similar Alcohol Marker Safe

Method


Die cut three white cardstock "Get Well Soon" dies. Then one out of Sunflower Cardstock.


Glue each layer together to create a thick sentiment. 


While the sentiment was drying I cut my cardstock to fit a 6" x  6" card blank. I cut it at 5 1/2" x 5 1/2" so to give a slight white boarder around the paper. I then added my sentiment to the middle of my card.

This is where I decided to go through, my lawn fawn products to see if I had some thing to finish of this card. Finding stamps that worked as you can see. i stamped out the tissue box in alcohol friendly ink and used my markers to colour the image in.
Lastly I added a few Nuvo drops, choosing colours that worked well with the papers.


Happy Paper Crafting
Jo
xxx


Wednesday 6 April 2022

 Morning Crafty Friends,

Well,  just like that its April and Easter is upon us. I needed to make some quick Easter cards for family and friends, so I turned to my Easter stash. Finding this beautiful stencil from Pretty, Pink, Posh. 

Stencils are perfect for quick cards as you can create a card with out die cutting r colouring. Great also for back ground, scene, or the layering designs. another bonus is the price point.

Products

Layered Egg's Stencil (Pretty, Pink, Posh)

https://www.bumbleberrys.co.uk/collections/new-releases/products/layered-eggs-stencil-2-layer-ppp 

Some Bunny Stamps (Sentiment Happy Easter) (Lawn Fawn)

https://www.bumbleberrys.co.uk/products/some-bunny?_pos=1&_sid=da038d213&_ss=r

Smooth Card Stock Cut To 5 1/2" Squared. ( Strathmore Bristol Smooth)

Distress Oxides in Salt Water Taffy, Dried Marigold, Squeezed Lemonade, Twisted Citron and Salvaged Patina.

https://www.bumbleberrys.co.uk/products/distress-oxide-3x3-salvaged-patina?_pos=13&_sid=a657c64d4&_ss=r 

Moon Stone Glimmer Paste (Nuvo)

Shader Blending Brushes (Waffle Flower)

https://www.bumbleberrys.co.uk/collections/waffle-flower/products/shader-brush-1-10pk-wf?variant=39835856044114

Method


Line up your stencil 1 with your smooth card stock and attach with tape or magnets.


Start a the top, then work down


I choose a rainbow order.  


Place the second stencil over the egg image and line up the pattern and cover with a thin line of glimmer paste. 


Remove stencil straight away and rinse it.


Leave your eggs to dry. I leave mine over night but it takes a few hours


Stamp out your sentiment and use your shader brushes to add colours to the sentiment strip, buff off oxides to keep black sentiment visible.

I do hope you have a Lovely Easter and I'll be back next week with a little bit of die cutting.

Happy Paper Crafting

Jo Summers
xxx 


Followers