Morning Crafty Friends,
Well, just like that its April and Easter is upon us. I needed to make some quick Easter cards for family and friends, so I turned to my Easter stash. Finding this beautiful stencil from Pretty, Pink, Posh.
.jpg)
Stencils are perfect for quick cards as you can create a card with out die cutting r colouring. Great also for back ground, scene, or the layering designs. another bonus is the price point.
Products
Layered Egg's Stencil (Pretty, Pink, Posh)
https://www.bumbleberrys.co.uk/collections/new-releases/products/layered-eggs-stencil-2-layer-ppp
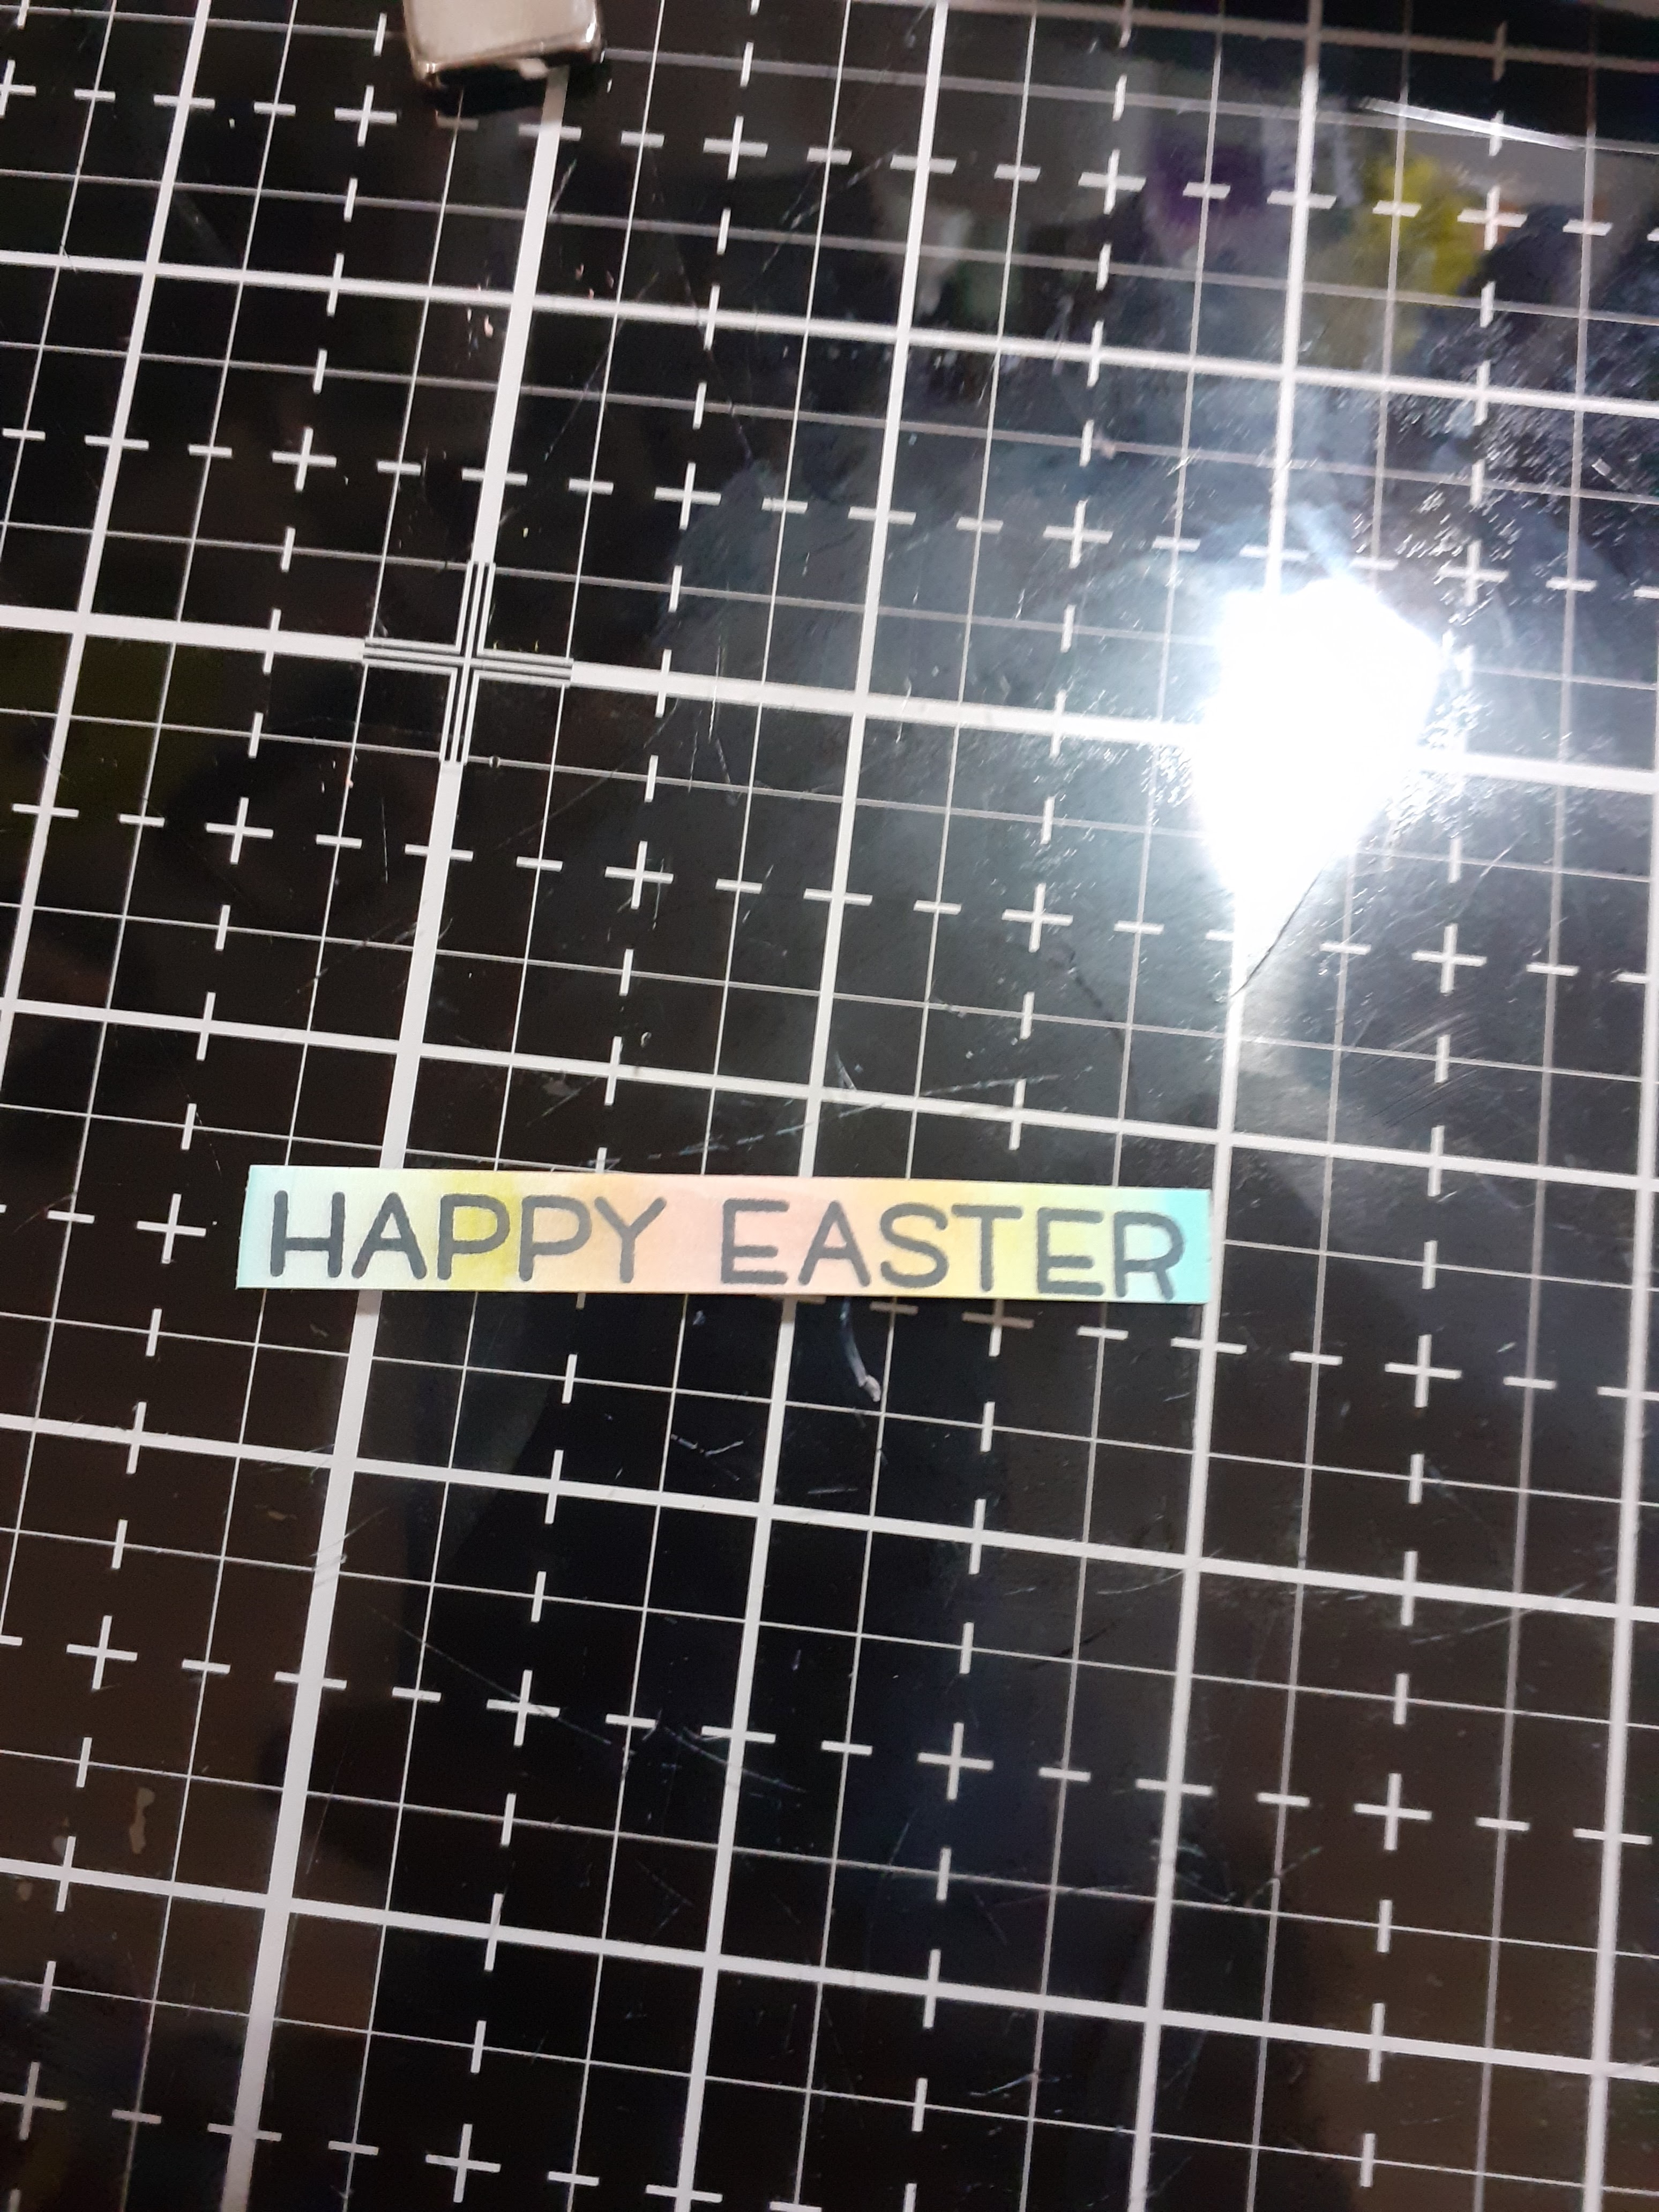
Some Bunny Stamps (Sentiment Happy Easter) (Lawn Fawn)
https://www.bumbleberrys.co.uk/products/some-bunny?_pos=1&_sid=da038d213&_ss=r
Smooth Card Stock Cut To 5 1/2" Squared. ( Strathmore Bristol Smooth)
Distress Oxides in Salt Water Taffy, Dried Marigold, Squeezed Lemonade, Twisted Citron and Salvaged Patina.
Moon Stone Glimmer Paste (Nuvo)
Shader Blending Brushes (Waffle Flower)
Method


.jpg)


No comments:
Post a Comment