Wednesday 30 May 2018

Weekly Blog for Bumbleberrys using the latest release from Lawn Fawn, Coaster Critters.


Well Hi There Crafty Friends,
What a change in the weather, Saturday Night we saw a fantastic Thunder Storm. I think its one of the most Dramatical, I've ever witnessed. The lighting was forking in different directions. But even thought the sun has gone in hiding. It still seems rather humid.
Any way your not here to take about the weather your here to take a look at those gorgeous, Coaster Critters.https://www.bumbleberrys.co.uk/collections/new-releases/products/coaster-critters
I had to get these and they were the first of many sets in the basket.  


This slider  Card was created buy using the Coaster Critters Slide On Over Add On. https://www.bumbleberrys.co.uk/collections/new-releases/products/coaster-critters-slide-on-over-add-on-die

Lawn Fawn do a step by step on slider cards on you tube.https://www.youtube.com/watch?v=AIEo6ytZwJI

 So following their lead I created this card.

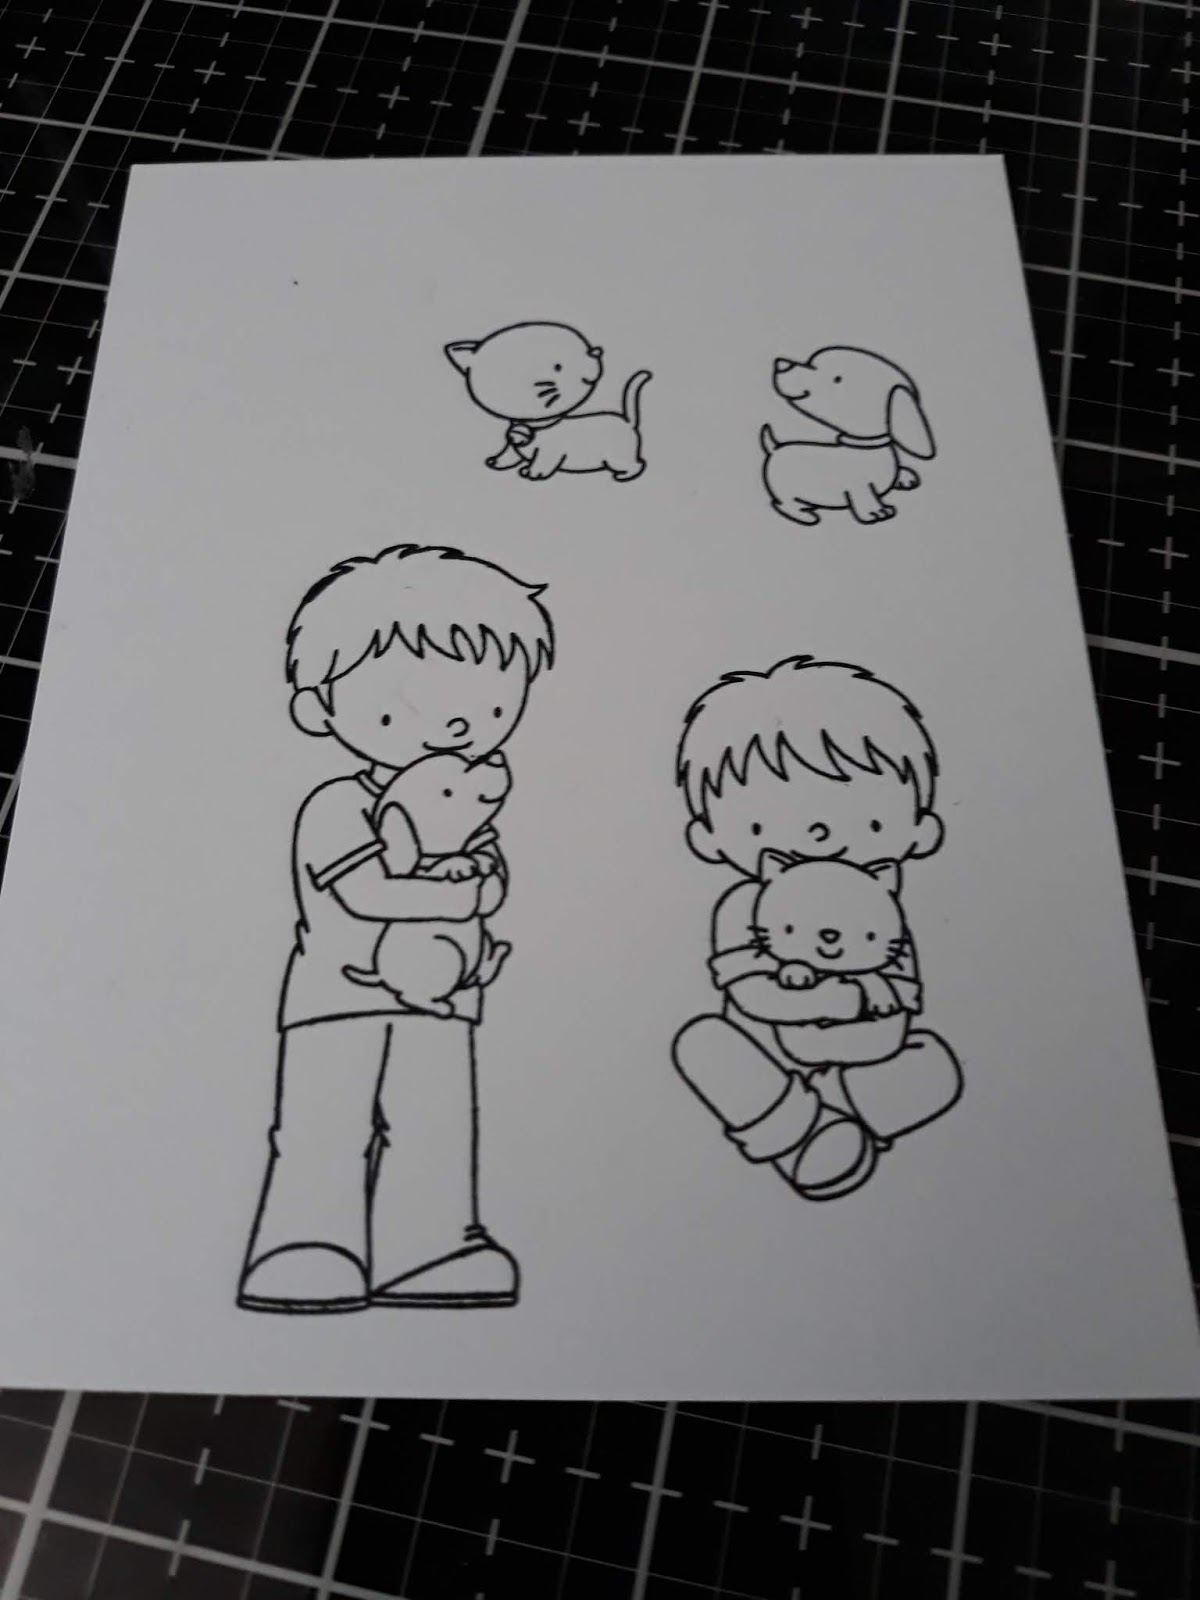
Firstly I stamped all the Images, then planed how it would look.


Added the slider die.
Then glued the ride in place using an acrylic block, to hold it down. 


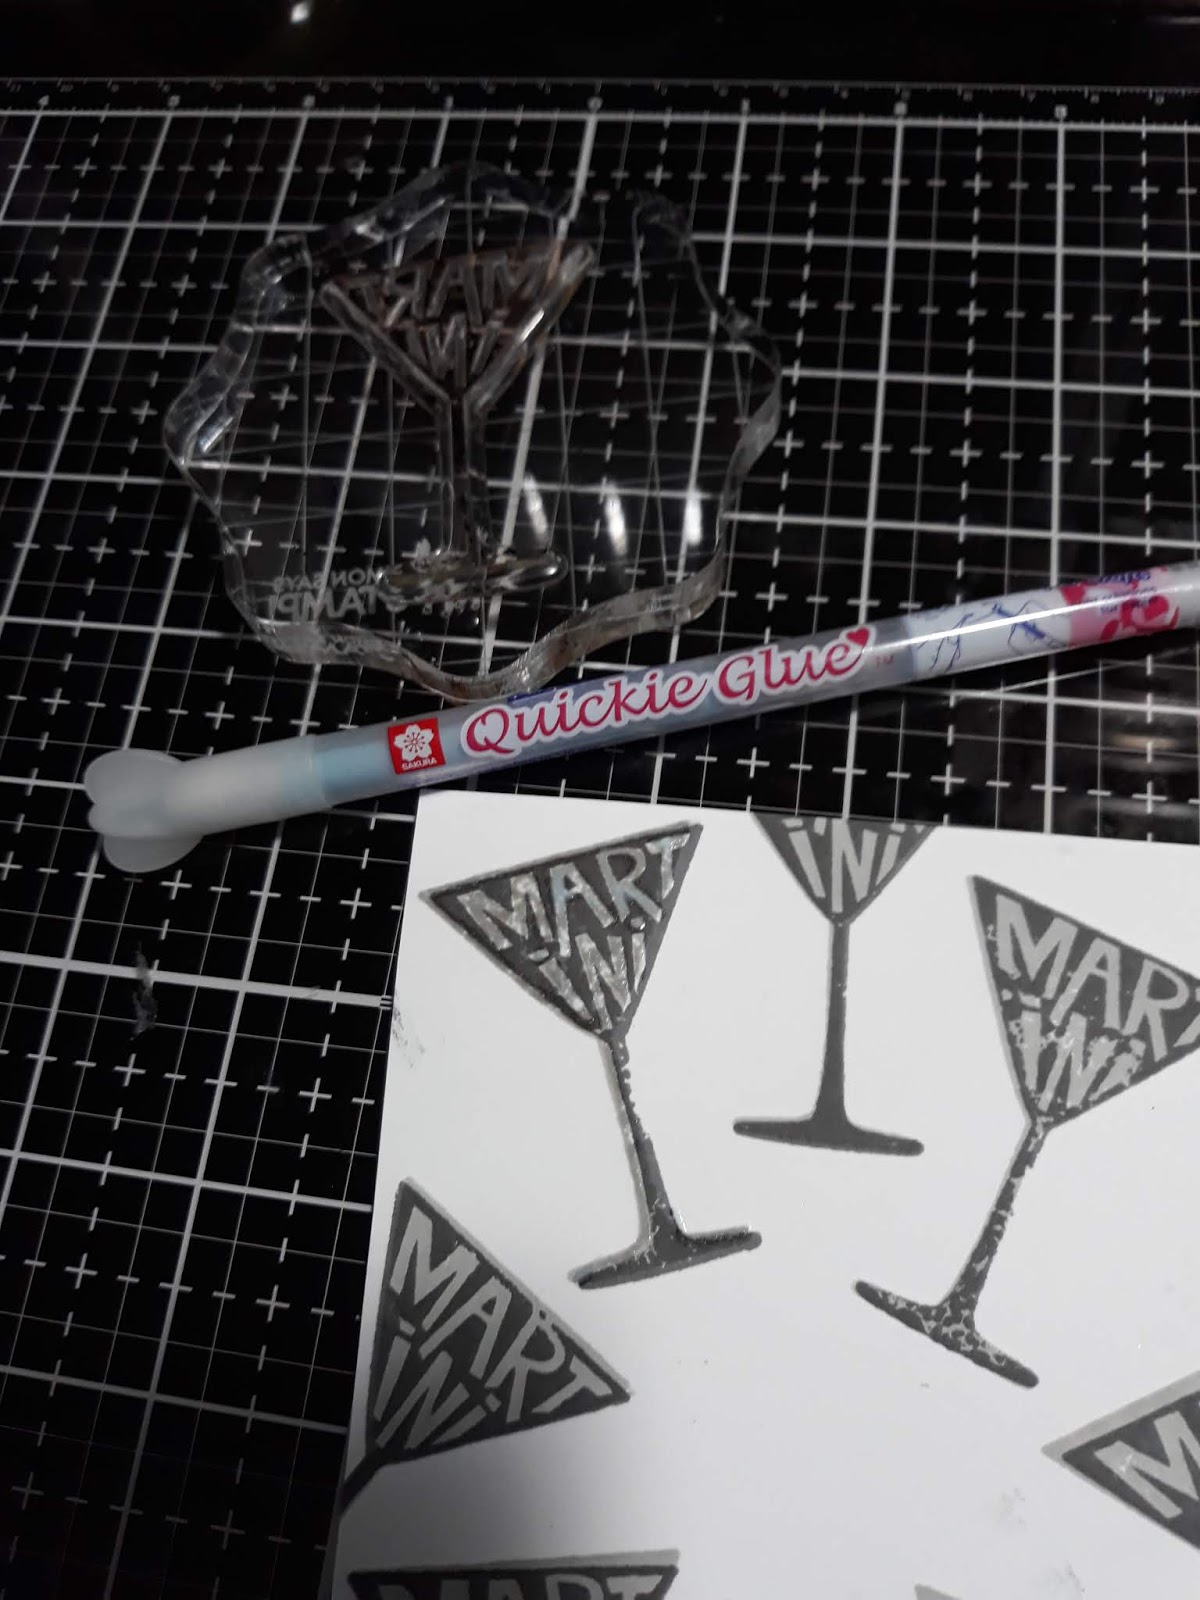
Stamped my sentiment, on black card stock. 
Then embossed in white embossing powder.


Then I  started building the finished card.


Cut out the clouds from MFT Cloud Shaker Window & Frame.
Finished with glossy accents, Spectrum noir sparkle pen and Nuvo drops in white.
I love the way he goes up and down the ride. 


I hope you have enjoyed popping over.
Take Care and God Bless
Jo
xxx

Wednesday 23 May 2018

Weekly Blog Post for Bumbleberrys.....Using the latest release from MFT, Little Buddies.

Good Morning / Good Afternoon,
Which ever the case,
 Welcome.
Well this week i've been super naughty.  With the release of al the goodies from Lawn Fawn, Avery Elle and MFT and others....
So much lovely craftyness in a month, It will be salad, all week in this house!
But the amazing designs that are being release, are to cute not to add to my stash.
So the first card I have made, showcases the MFT Cute Little Buddies.
This set has four images of a sweet little boy holding a puppy, a kitten, and then seperate images of a puppy and kitten. Also seven amazing sentiments to coordinate with the images. 
I am a huge dog lover.
 Well enough about me, lets get on with the card for this week.


Step one
Stamp out your images in memento ink ,on to appropriate cardstock (Pen Friendly).
Then Colour your image. I used a mixture of alcohol markers and prisma pencils.


Step Two
 Then I used a piece of thick watercolor card stock. Using my Hero Arts Infinity Nesting Dies (circle). I embossed them to create a frame.


Then I blended the water colored with some Salty Ocean Distress oxide ink pad.
Use the flicking water technique to create my back ground. Then i stamped my sentiment and added my little boy.


Then I added a thin strip of rainbow paper from Lawn Fawns, Really Rainbow paper pad. Hearts from Doodlebug designs,then finished with Nuvo drops in Gloss white and crystal glaze.


TIPS


When adding your watercolor paper to your card blank
use a large acrylic block to hold it down flat, until the glue drys.

To achieve a sentiment, in  a round shape on your frame. Gently manipulate the stamp in to a circle shape, on to the acrylic block.


Well I will be back next week with another card, if you would like me to cover a technique, please leave a comment and I will see what I can come up with.

God Bless and Happy Stamping

Jo
xxx

Wednesday 16 May 2018

Weekly Blog for Bumbleberrys using the latest release from MFT, Martini Time......


Good Morning Crafty friends,
Today's blog is introducing the latest release from My Favourite Things, I was waiting for this one.
I took a shine to the Martini Time Stamps,https://www.bumbleberrys.co.uk/collections/new-releases/products/martini-time As its that time of year for family and friends get togethers in the garden. I decided to make two cards today on for a sweet afternoon drinky time, and one more with a party evening event.

Foiled to add glam, maybe an evening event.


Girly get together!

I not sure which is my favourite.

How did I make this card, Its easy peasy, 
here are the step by steps.


Step one
Stamp in your lightest colour first, the solid glass image. 
I used Altenew Silver Stone.


Step Two

Then using your darkest colour, even black depending on your colour theme.
I used Altenew Industrial Diamond.


Step Three

I then added Quickie glue by Sakura to the words Martini and any other little areas on the glass.


Step Four
Why this was drying, (glue) I added all the other little images like the lemon and the olive.
Finally the sentiment.


Step Five
Once the Glue isn't blue anymore, I knew it was dry and tacky.
So I pulled out some foil sheet, you don't need much.
If you have A4 cut it down by half. Placed it on each image, smoothed it down, and gently pulled it off.


It looks amazing. I hope you agree.


Finally I added Nuvo Crystal Glaze to the olives, Nuvo drops in Silver Lining, Moonlight Sky. 
With the other card I Just used a selection of inks from Altenew, in Fresh Lemon, Parrot, and for the glass I used Coral Berry and Ruby Red as my darkest.

I hope you are all well, and enjoying the sunshine. Its a little cloudy today,
 so I dont think hes coming out to play.
God Bless
Jo
xxx


Thursday 10 May 2018

Weekly Blog for Bumbleberrys Using Lawn Fawns......Sprinkled with Joy and Bun in the Oven.


Well Hello Crafty Friends,
After a fantastic birthday weekend, it was time to get back into my happy place.
While we wait for all the loveliness to be released this month. I thought I revisit some of my old favourites. 
So pulling out my Sprinkled with Love and Bun in the Oven stamps from Lawn Fawn, https://www.bumbleberrys.co.uk/products/sprinkled-with-joy 
https://www.bumbleberrys.co.uk/products/bun-in-the-oven

Front of Card

Lift the flap

Inside the card


This adorable little set, is so fun.
What a way to tell the world your expecting a new arrival.

Step one

Stamp on to Neenah cardstock 80lb with Memento black ink. Stamp the oven part twice.

Step two
I used Prisma pencils to colour my image, then cut out the middle area on the door. and attached vellum to the back.

Step Three


I then used a alcohol marker to colour the back of the vellum, and then added the same pattern paper as I used for the background.

Step Four
I stamp the sentiment on a stip of black card stock, and stamped the inside of the card.
Then got a 4 x 6 card blank and used Perfectly Plaid backing paper also from Lawn Fawn. Then added some of the Ocean mix by Lucy little things.


I hope you like this idea.
As it was my birthday last friday, I was given some money to treat my self with.
I decided to order this amazing book from Amy Tangerine. She is an amazing artist, specialising in Planners and brush lettering. I can put it down, its so interesting talking about our mind set and crafting.


Oh well lovely crafters, I will be back next week with a look at the latest release from MFT.
very excited to get my hands on this parcel.

God Bless
Jo
xxx

Wednesday 2 May 2018

Weekly Blog for Bumbleberrys using CONCORD & 9TH Mosaic Turnabout and MFT...


Well Hello There Crafty Friends,
I hope your having a good week. I'm looking forward to the MFT release on the 5th May.
I am a real fan of their stamps, they are in my top three favourites.
This weeks blog I decided to change it up a notch. Buy using two different company.
I love the Mosaic Turnabout stamps buy Concord & 9th, https://www.bumbleberrys.co.uk/products/mosaic-turnabout-stamps
Their are great videos on youtube by Jennifer McGuire, also Concord and 9th themselves, as they
will explain it far better than myself.
Also I've used MFT's  Once Upon A Time. https://www.bumbleberrys.co.uk/products/once-upon-a-time


I first made the background using the turnabout stamp, I kept it in one colour to create drama.
Then I stamped and masked my castle, then added the princesses. I took a fine black memento marker and drew in the yellow path. 
Finally I coloured in my scene in an array of mediums, Alcohol Markers, Prisma Pencils, Spectrum Noirs Sparkle Pens.
Added Nuve Crystal Glaze and Nuvo Pure Sheen Glitter.
Mounted my scene on to black card and the mosaic background also on black card.
Stamped a sentiment from the stamp set, then mounted that in the same way.
Placed them on to my card blank into the design.
I sorry there are no photos with the step by step this week but I seem to have deleted them by accident, but I'm sure you will understand the steps buy my writing.

Take Care, and God Bless
Jo 
xxx
  

Followers