Wednesday 26 August 2020

Playing With Positive Print Turnabout Stamps from Concord & 9th.

 Well Hello There,

I'm back today with more fun playing with the turnabout stamps. These seem daunting at first, but trust me now we have the jig its a doddle.

I fell in love with the Positive print that concord and 9th brought out. I had to have a go at some awesome backgrounds. But I have struggled in the past. Using the jig, made it so much easier. No mistakes!!!!

I feel this design is very trendy at the moment.

Products

Concord & 9th Positive Print Turnabout Stamp

Concord & 9th "Hey Friend" Stamp Set

Card 1 Fresh Cut Florals Dies ( To make up the blooms, cut two of each size off set them and repeat for the next set of petals)

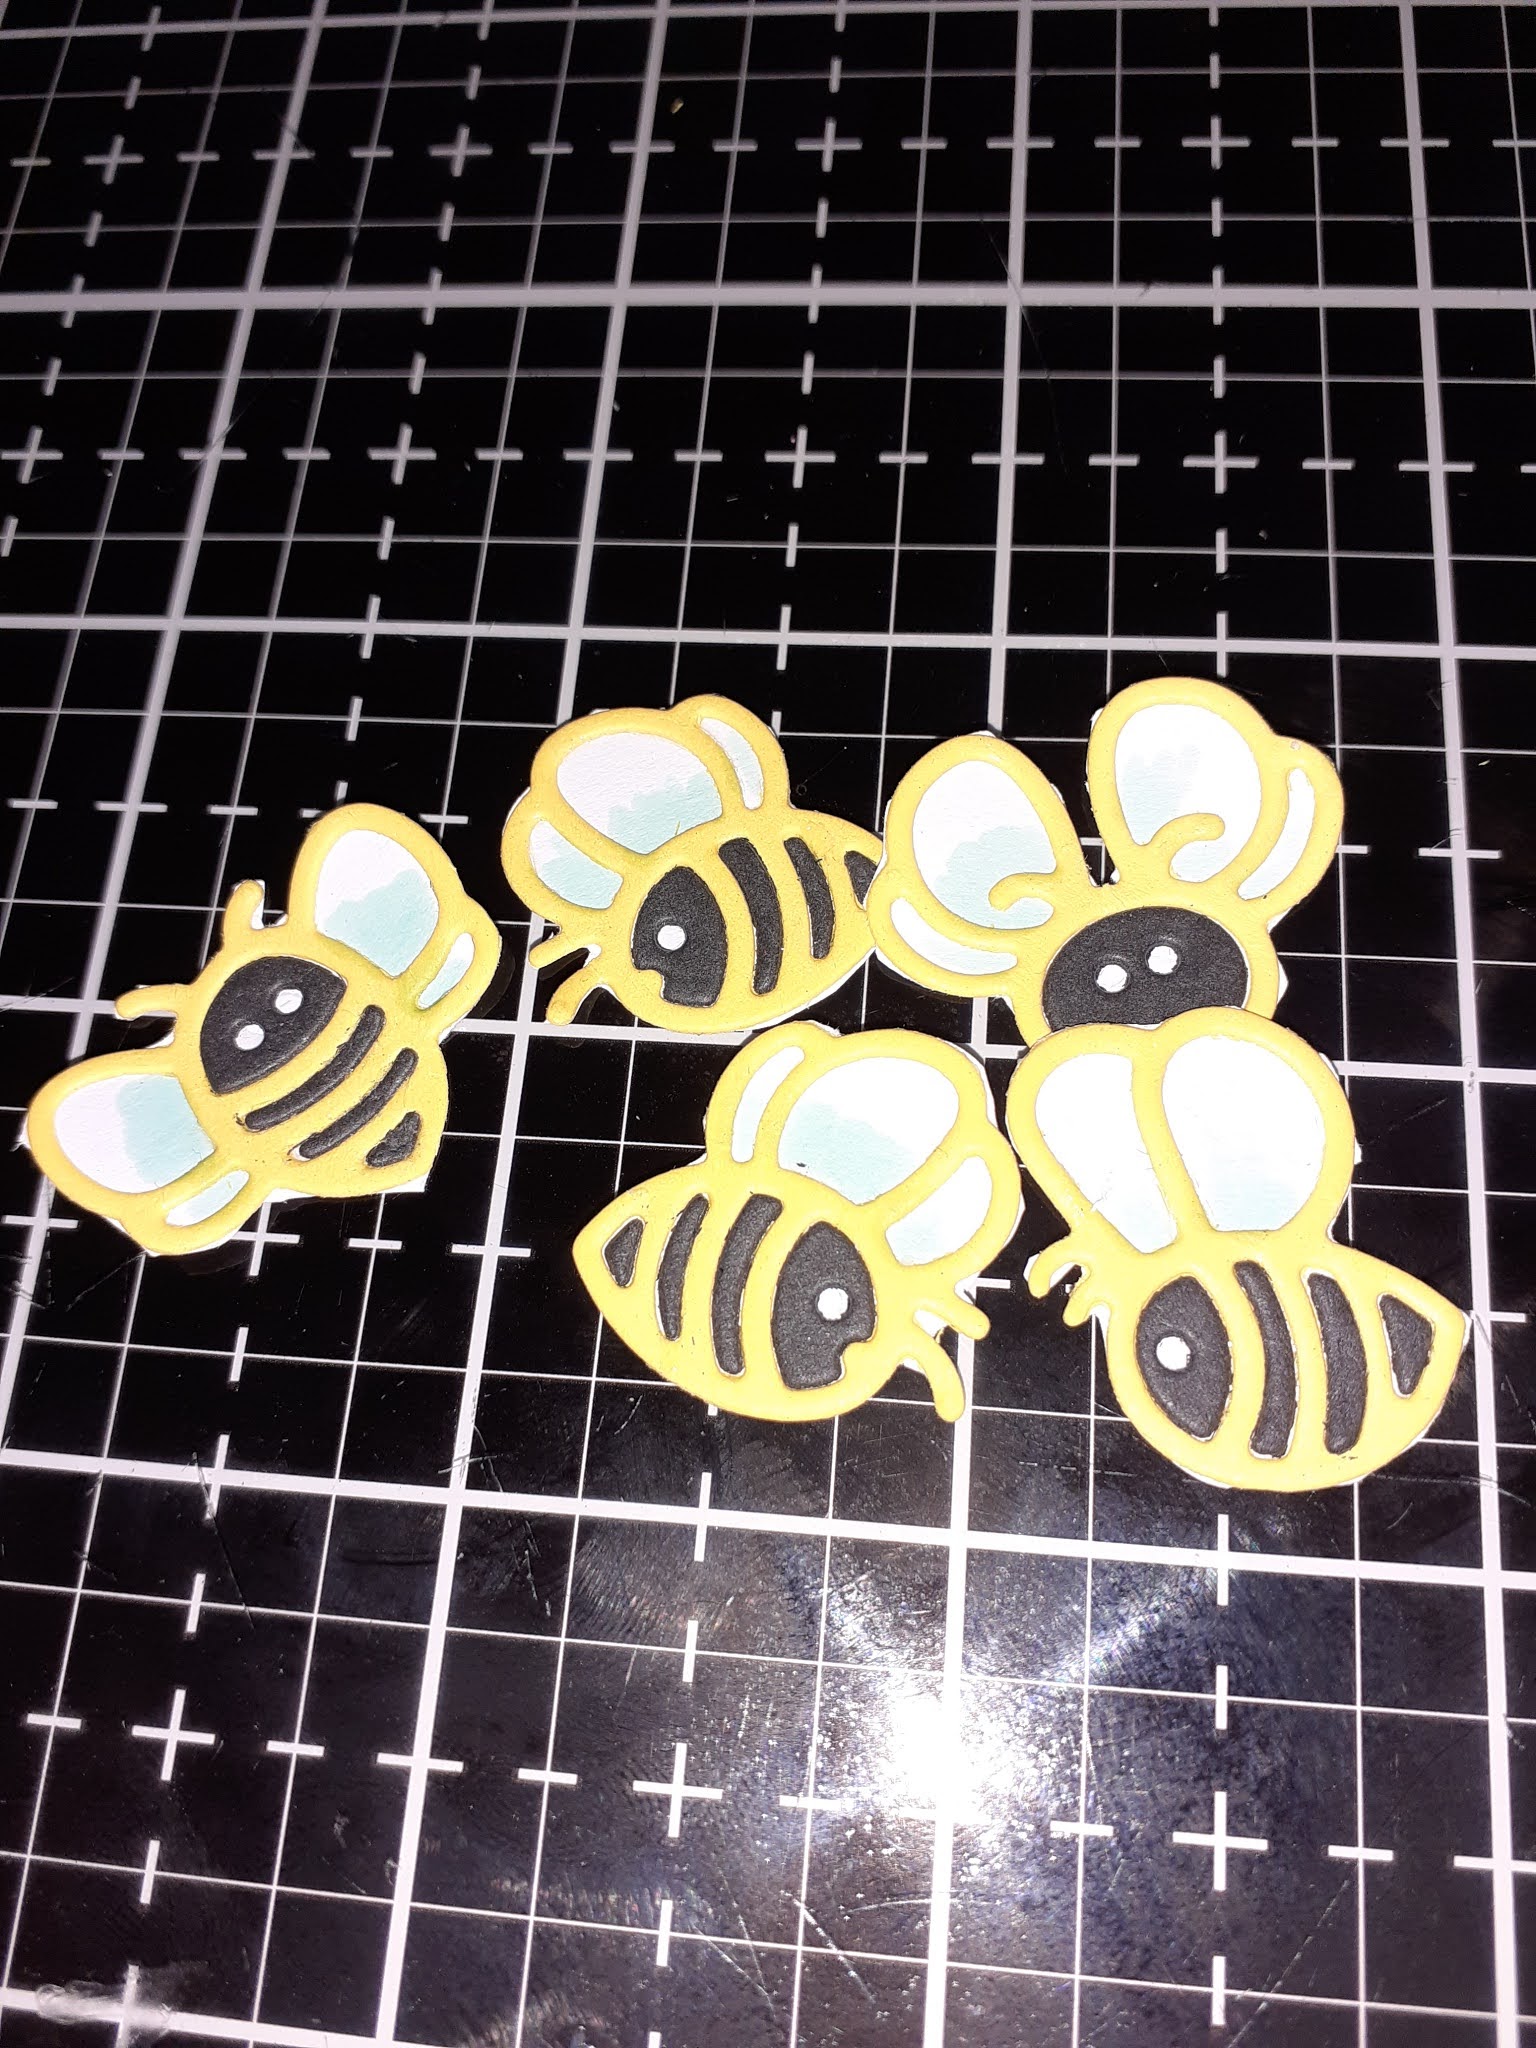
Card 2 Honey Bee's Polygon  Thin Frames

Neenah 80lb Cardstock cut to 6 x 6 inches.(Card 2)

(Card 1) 5 3/4 x 5 3/4 inches

Card 1 Inks, Altenew Silver Lake, Grey Denim, Cloudy Night, and Charcoal Suit.

(Card 2) Inks Gina K Apple Mint, Sea Glass, Lovely Lavender, and Innocent Pink.

Card 1 cardstock in Passionate Pink (Gina K)

 Black Licorice (Lawn Fawn Cut to 5 7/8 inches Square. to frame the 5 3/4 squared inches neenah layer)

Silver Matt or Pearl Cardstock

Wow White Embossing Powder Fine

White 6 x 6 inch card blank

Various gems and sequins from my stash


Method

Firstly cut your neenah card stock down to size then depending on the card design pick your inks.


Line up your turnabout, using the jig.


Pop it in to your stamp positioner, this helps if you use re positional  tape.
Each turn of the stamp clean and use a different colour ink. you need four different colours.

After following the steps you should be left with a beautiful background.

Next depending on which card you can stamp your sentiment on to a separate piece of cardstock, and either emboss it or die cut a frame.

With this example I used the same dies as i did last week to create the succulents. This time I cut them from passion pink card stock.

and added some dazzles.

 On the other card I added a silver frame die cut from pearl silver card stock. Then added some sequins.

I not sure which I prefer as one is more delicate in colour choice, but just as beautiful.


Happy Stamping 

Jo

xxx


.


Wednesday 19 August 2020

Creating Trendy Succulents, Out of Flower Dies.

 Welcome and Hello

Today, I been up to some die cutting. I love added dimension in this way. I think you can really make your card pop.


I teamed this up with my other  obsession this month, the Honey Bee Stamps Hexagon Frames. 

After watch Greg from Concord & 9th, I had  to try this for myself.

Products

Concord & 9th Fresh Cut Florals Edition 3 Dies

https://www.bumbleberrys.co.uk/collections/concord-9th/products/fresh-cut-florals-edition-3?variant=32697455575122 

Concord & 9th " HI" Die from Type Talk

https://www.bumbleberrys.co.uk/collections/concord-9th/products/type-talk-dies 

Type Talk Stamps For Sentiment Stamps and Dots For The Background

https://www.bumbleberrys.co.uk/collections/concord-9th/products/type-talk

Nuvo Drops Gloss ( Carnation Pink)

Satin Mirror Cardstock (Gold)

Lawn Fawn ( Cilantro,Lucky Clover and Black Licorice) Card stock and Inks

https://www.bumbleberrys.co.uk/collections/lawn-fawn/cardstock

Gina K (Passionate Pink, and Bubblegum Pink)

https://www.bumbleberrys.co.uk/collections/gina-k-designs/cardstock

Versa Mark Ink Pad

Gina K Connect Glue / Tape Runner

https://www.bumbleberrys.co.uk/collections/gina-k-designs/adhesives

Super Fine Embossing Powder ( White)

Green Flower Soft (For Succulents Centres)

Method

Firstly die cut your petals out of the green card stock then shape them with a ball tool.


Add a little shading to your petals, with a blending tool or dauber  and your inks.


Put them to one side and start on your card background. 


I die cut some pink card stock ( bumble gum) using the MFT Stitched Rectangle Stax Two dies.


Then using the Versafine inkpad, I stamped a pattern on this using the random sized dot stamp.


I let this dry for a minute then using connect glue stuck my succulents together and arranged them on to the base.

 Taking a white gell pen I added some high lights and stitching details.
Also add the flower die cut. from Passionate pink card stock.


I also died the word (HI) from the same cardstock.
And one of the hexagon frames from satin gold card stock.


Finally I stamped my sentiment on black card in white embossing powder, added it to my project. followed by the nuvo drops, and green flower soft in the centre of the other succulents.

I hope you enjoyed today's post. I am hoping to try this technique with other flower dies I have to see what other looks I can achieve. 
Happy Stamping
Jo 
xxx  


Wednesday 12 August 2020

Playing with Alcohol Inks, Lift Technique and Backgrounds To Create Two Cards.

 Hi There Crafty Friends

I have something a little different for you today. I am not an expert and if you never done this before would advise you check out some videos on you tube from Tim Holtz, (The Ranger King).

https://www.youtube.com/watch?v=JsTxx7YMww0

Products

My Favorite Thing Background Stamp ( Flower Field)

https://www.bumbleberrys.co.uk/collections/my-favorite-things/products/flower-field-background?variant=32642044428370

Alcohol Inks (Red, Orange, Yellow, and Green)

Alcohol Lift Ink Pad

Yupo Paper

Neenah 80lb Card Stock

https://www.bumbleberrys.co.uk/collections/neenah/products/neenah-classic-crest-80lb-8-5x11-25-pk

Black Card Stock

Embellishments

Honey Bee Stamps Hexagon Slim Frames

https://www.bumbleberrys.co.uk/collections/honey-bee-stamps/products/hexagon-thin-frames-honey-cuts

Mama Elephant Happy Birthday Die

https://www.bumbleberrys.co.uk/products/big-happy-birthday-creative-cuts?_pos=9&_sid=1393f397b&_ss=r&variant=21714126635090

Altenew Simple Hello Die

https://www.bumbleberrys.co.uk/products/simply-hello-die?_pos=3&_sid=6ec7add15&_ss=r

Gold and Clear Crystals Sequins

6 x 6" Black  and 7 x 7"  White Square Card Blanks


Method

Firstly make up your alcohol panel, using your alcohol inks and  yupo paper.

I decided to do mine in rainbow order.  


 I let this dry, then I placed it into my Misti. I placed my background stamp and used the special Alcohol Lift Ink pad to ink up the stamp. I then stamp down on to my yupo panel, Lifted this and removed the yupo  panel and put in my Neenah cardstock. I stamped down to transfer the ink that had been collected on the stamp to my cardstock. I did this technique a few times to build up the ink transferred. Then gentle I dabbed the yupo panel, with a piece of paper towel to encourage more ink to lift. Once this was clear on the paper towel,I gently rubbed my panel to reveal more of the image.   


As you can see its amazing how it transfers giving you two backgrounds.


Once I left these to settle for a while I cut them to different sizes and mounted them to card blanks.

I then started to embellish them with the various dies, which i have mixed and matched from different company's. As in the Hexagon and the Happy Birthday dies. I have listed and sequins.


I hope you enjoyed something out of my comfort zone today. 

Happy Stamping 

Jo

xxx


Wednesday 5 August 2020

How To Incorporate Shapes into your design. Using The Hexagon Thin Frames from Honey Bee Stamps.

Hi There All,
Hope your staying healthy, and enjoying the lovely weather. Today's card is a definitely summer inspired. Bee's are a very big part of that vibe.


Products

Honey Bee Stamps Hexagon Thin Frames
Honey Bee Stamps Honey Bee Paper Piecing Dies
Honey Bee Stamps Paper Pad
Gina K Wild Dandelion Cardstock
Lawn Fawn Black Licorice Cardstock
White Embossing Powder
Speckled Egg Distress Oxide
Tumbled Glass Distress Oxide
Black Fine Liner Pen
Black Nuvo Crystal Drops Gloss
Light Blue Alcohol Marker for Wings
White Acrylic Paint (for splatters) 
Glossy Accents (on wings) and Glitter

Method
Die Cut out of the pattern paper various sizes of hexagon frames.


Then die cut the bee's out of black and yellow card stock.


I stick my outside of the yellow bee to a piece of printer paper and then add in the black pieces one by one. Leaving the wings white, ready to add blue marker, Glossy accents and glitter.


Next I stamp out my greeting and emboss in white embossing powder.


Next I arranged the look on the card. If I would do this style again I would do the next thing before this part.


The Next stage was blending the oxide ink in specked egg and splats of tumbled glass and white acrylic.
This would be better before placing down your bees, hexagons and sentiment down.
Finally I added little black dashes from the bee,s. Then nuvo drops to finish my project.

.

Thank you for popping on over
Stay Safe and Happy Stamping
Jo
xxx

Followers