Hello and Welcome,
I hope you all had a Very Happy Christmas and A Great New Year.
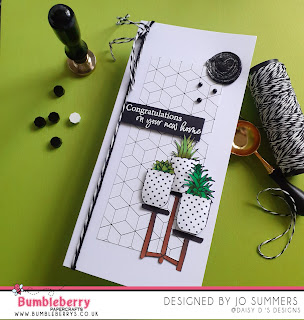
Today I'm showing a different way to using the wax seals. Which have become popular over the past few months and Altenew was the first. Now Honeybee Stamps have just release theirs with some lovely waxes.
Products
Happy Plants Stamps (Honey Bee Stamps)
Rooting For You Stamps (Honey Bee Stamps)
Bee Creative Wax Stamper Set Heart (Honey Bee Stamps)
Bee Creative Honey Comb Wax Melts
Hugs and Kisses Paper Pad (Honey Bee Stamps)
The Bee's Knee's Paper Pack (Honey Bee Stamps)
Gem Stickers Back to Basics (Honey Bee Stamps)
Copic Markers in YG3, YG17, AND YG67
G5 YG9 (Plants)
E37, E79 AND 100 (Plant Stand)
WO AND W2 (Plant Pots)
Embossing Pad (Any)
White Embossing Powder (Any)
Alcohol / Copic friendly Black inkpad (Any)
Black Twine (Any)
Glacier Paste Quick Silver (Nuvo)
Slimline Card Blank
Method
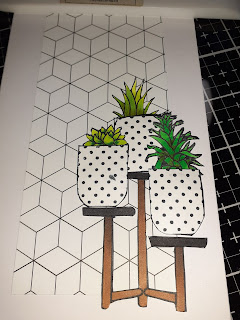
Stamp in Copic friendly ink and colour your images.
Choose your backing paper and cut to size you would like.
Attach your plant stand directly on to the bottom corner of your backing paper. Then using mounting foam tape raise up the pots and attach them on to the stand.
Stamp in embossing pad and emboss in white on to a piece of card your sentiment.
Cut it down using a trimmer and add you twine.
Heat up 3 Hexagon waxes in black, once melted pour on to your chosen place on your project. Then place stamp firmly in to melted wax.
If you have any wax over you can create wax dots. Then using a little Glacier Paste on your finger rub over wax image to highlight the Heart.
I will be showing more cards with Wax Seal's as they are not only good for sealing envelopes. They make great embellishments to.
Happy Paper Crafting
Jo
xxx


No comments:
Post a Comment